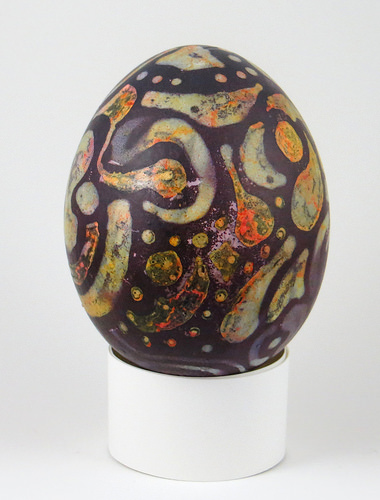
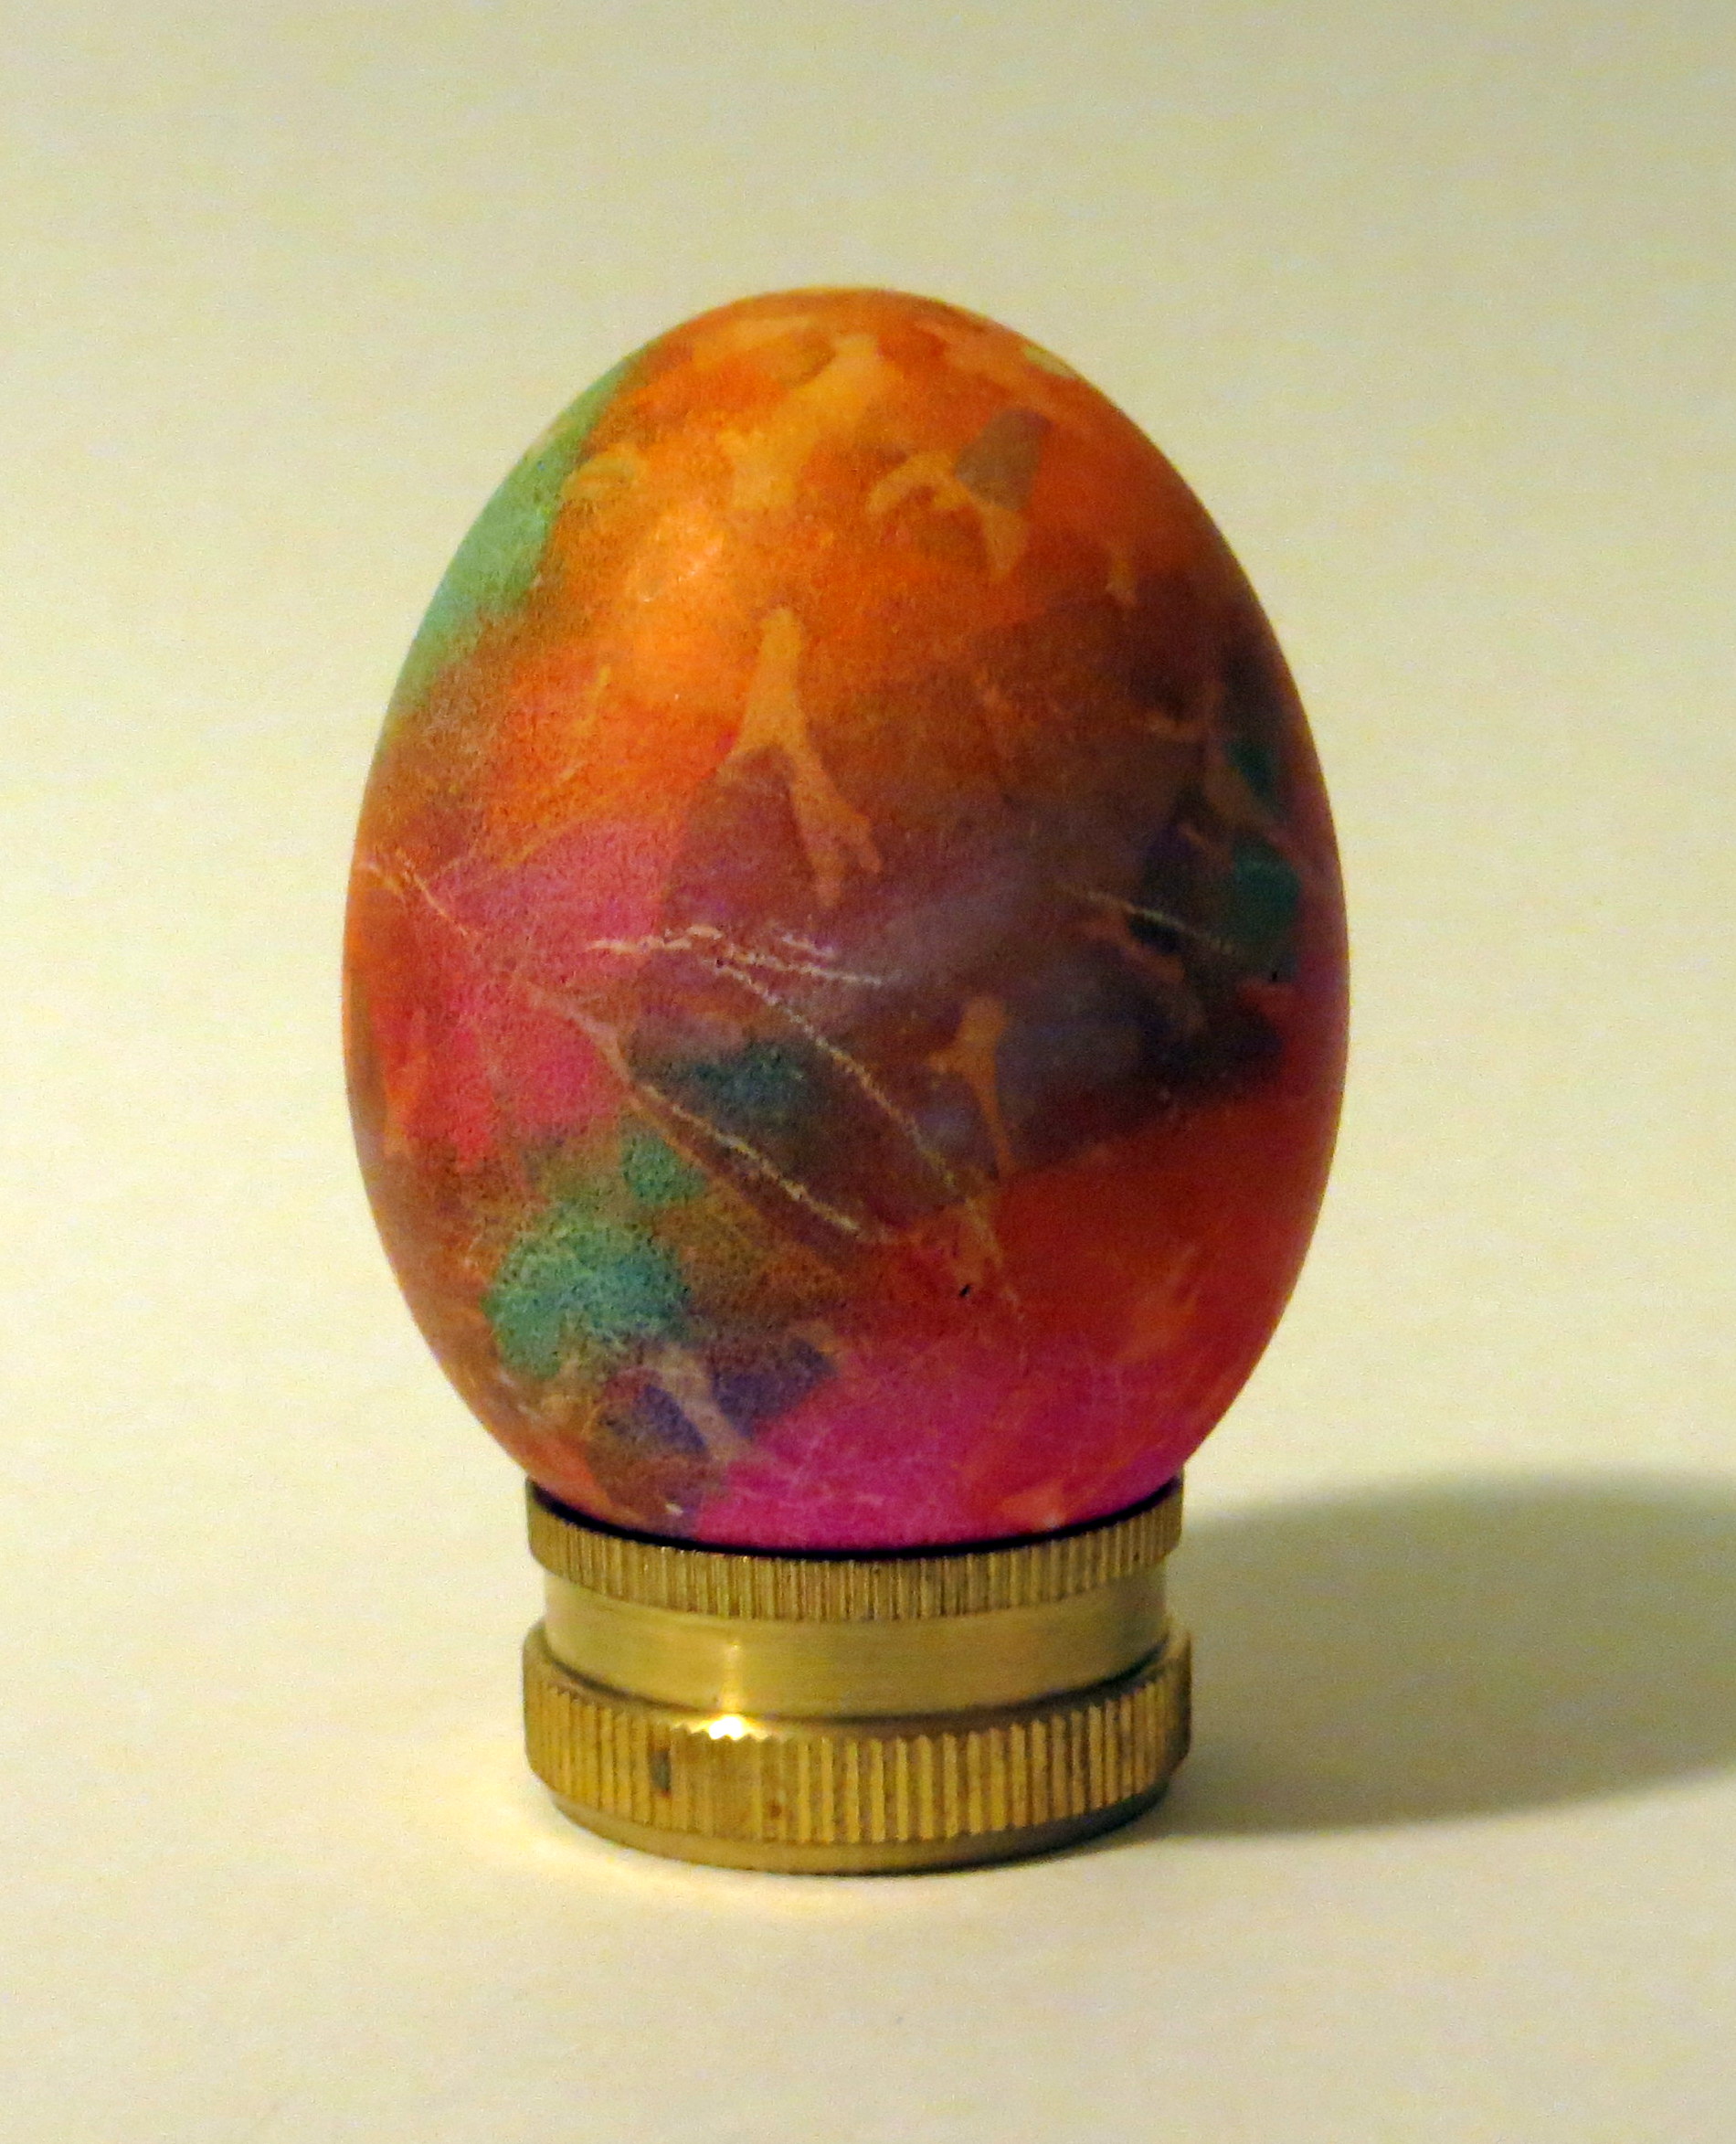
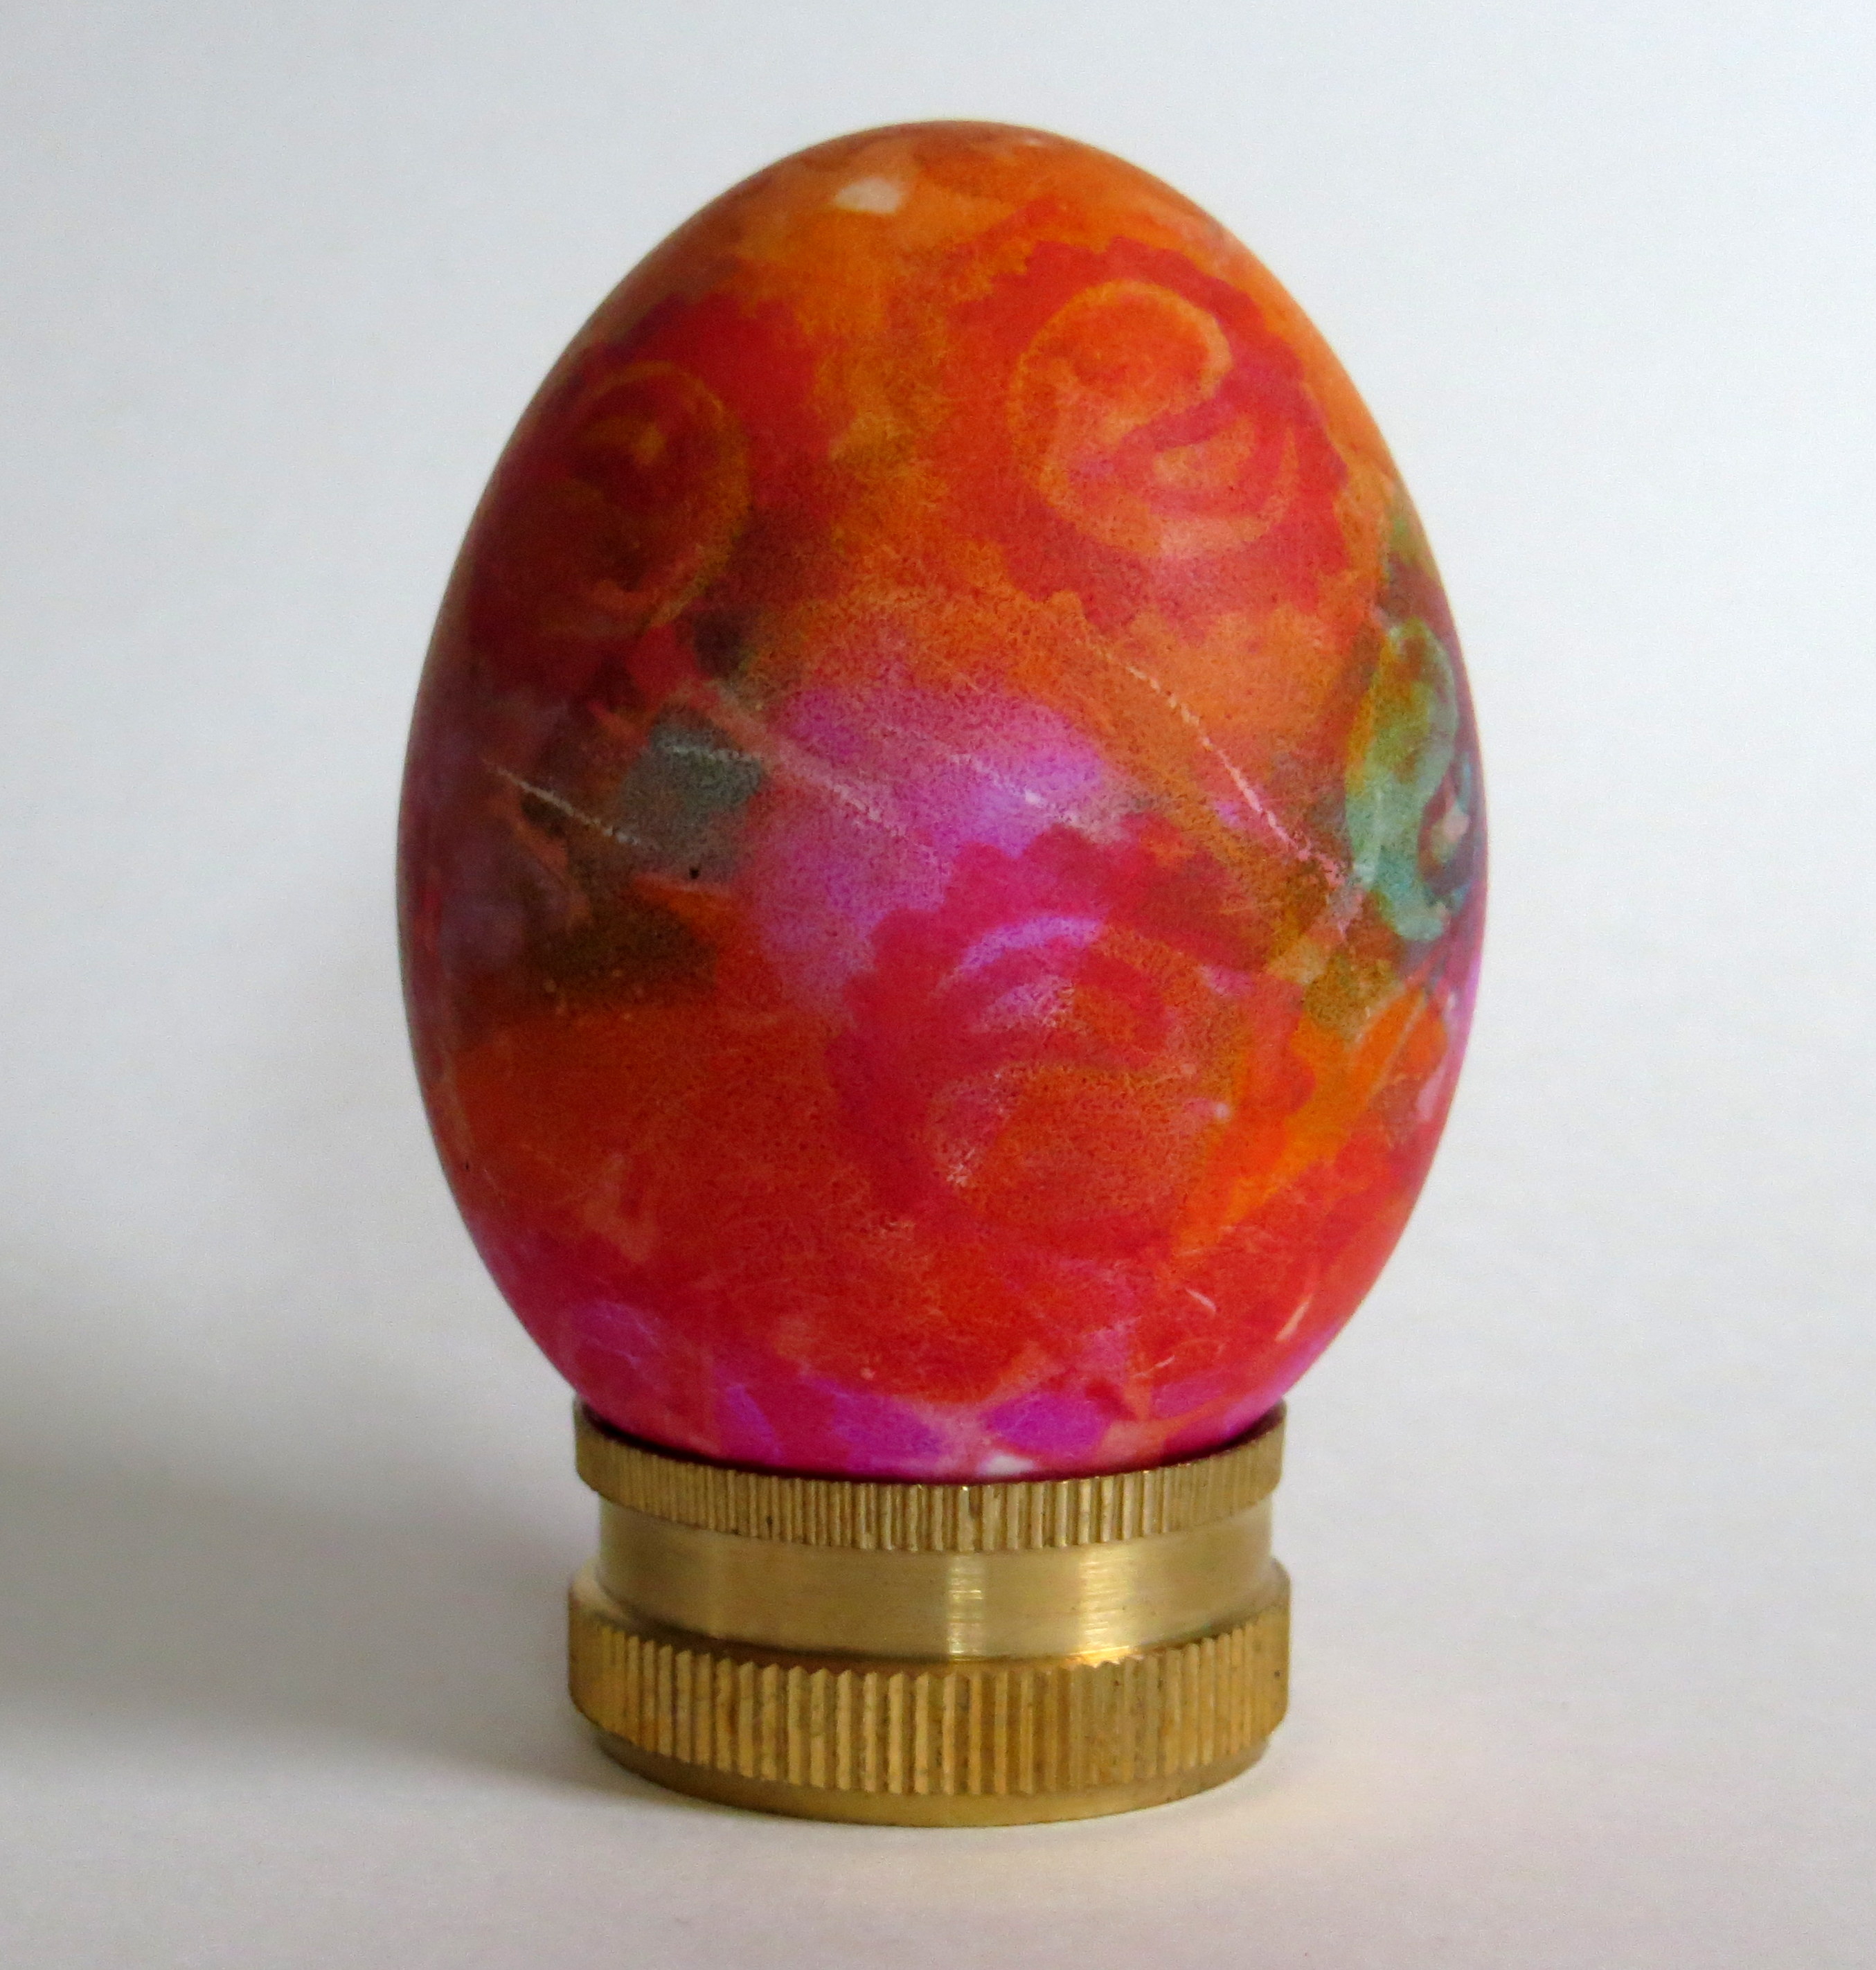
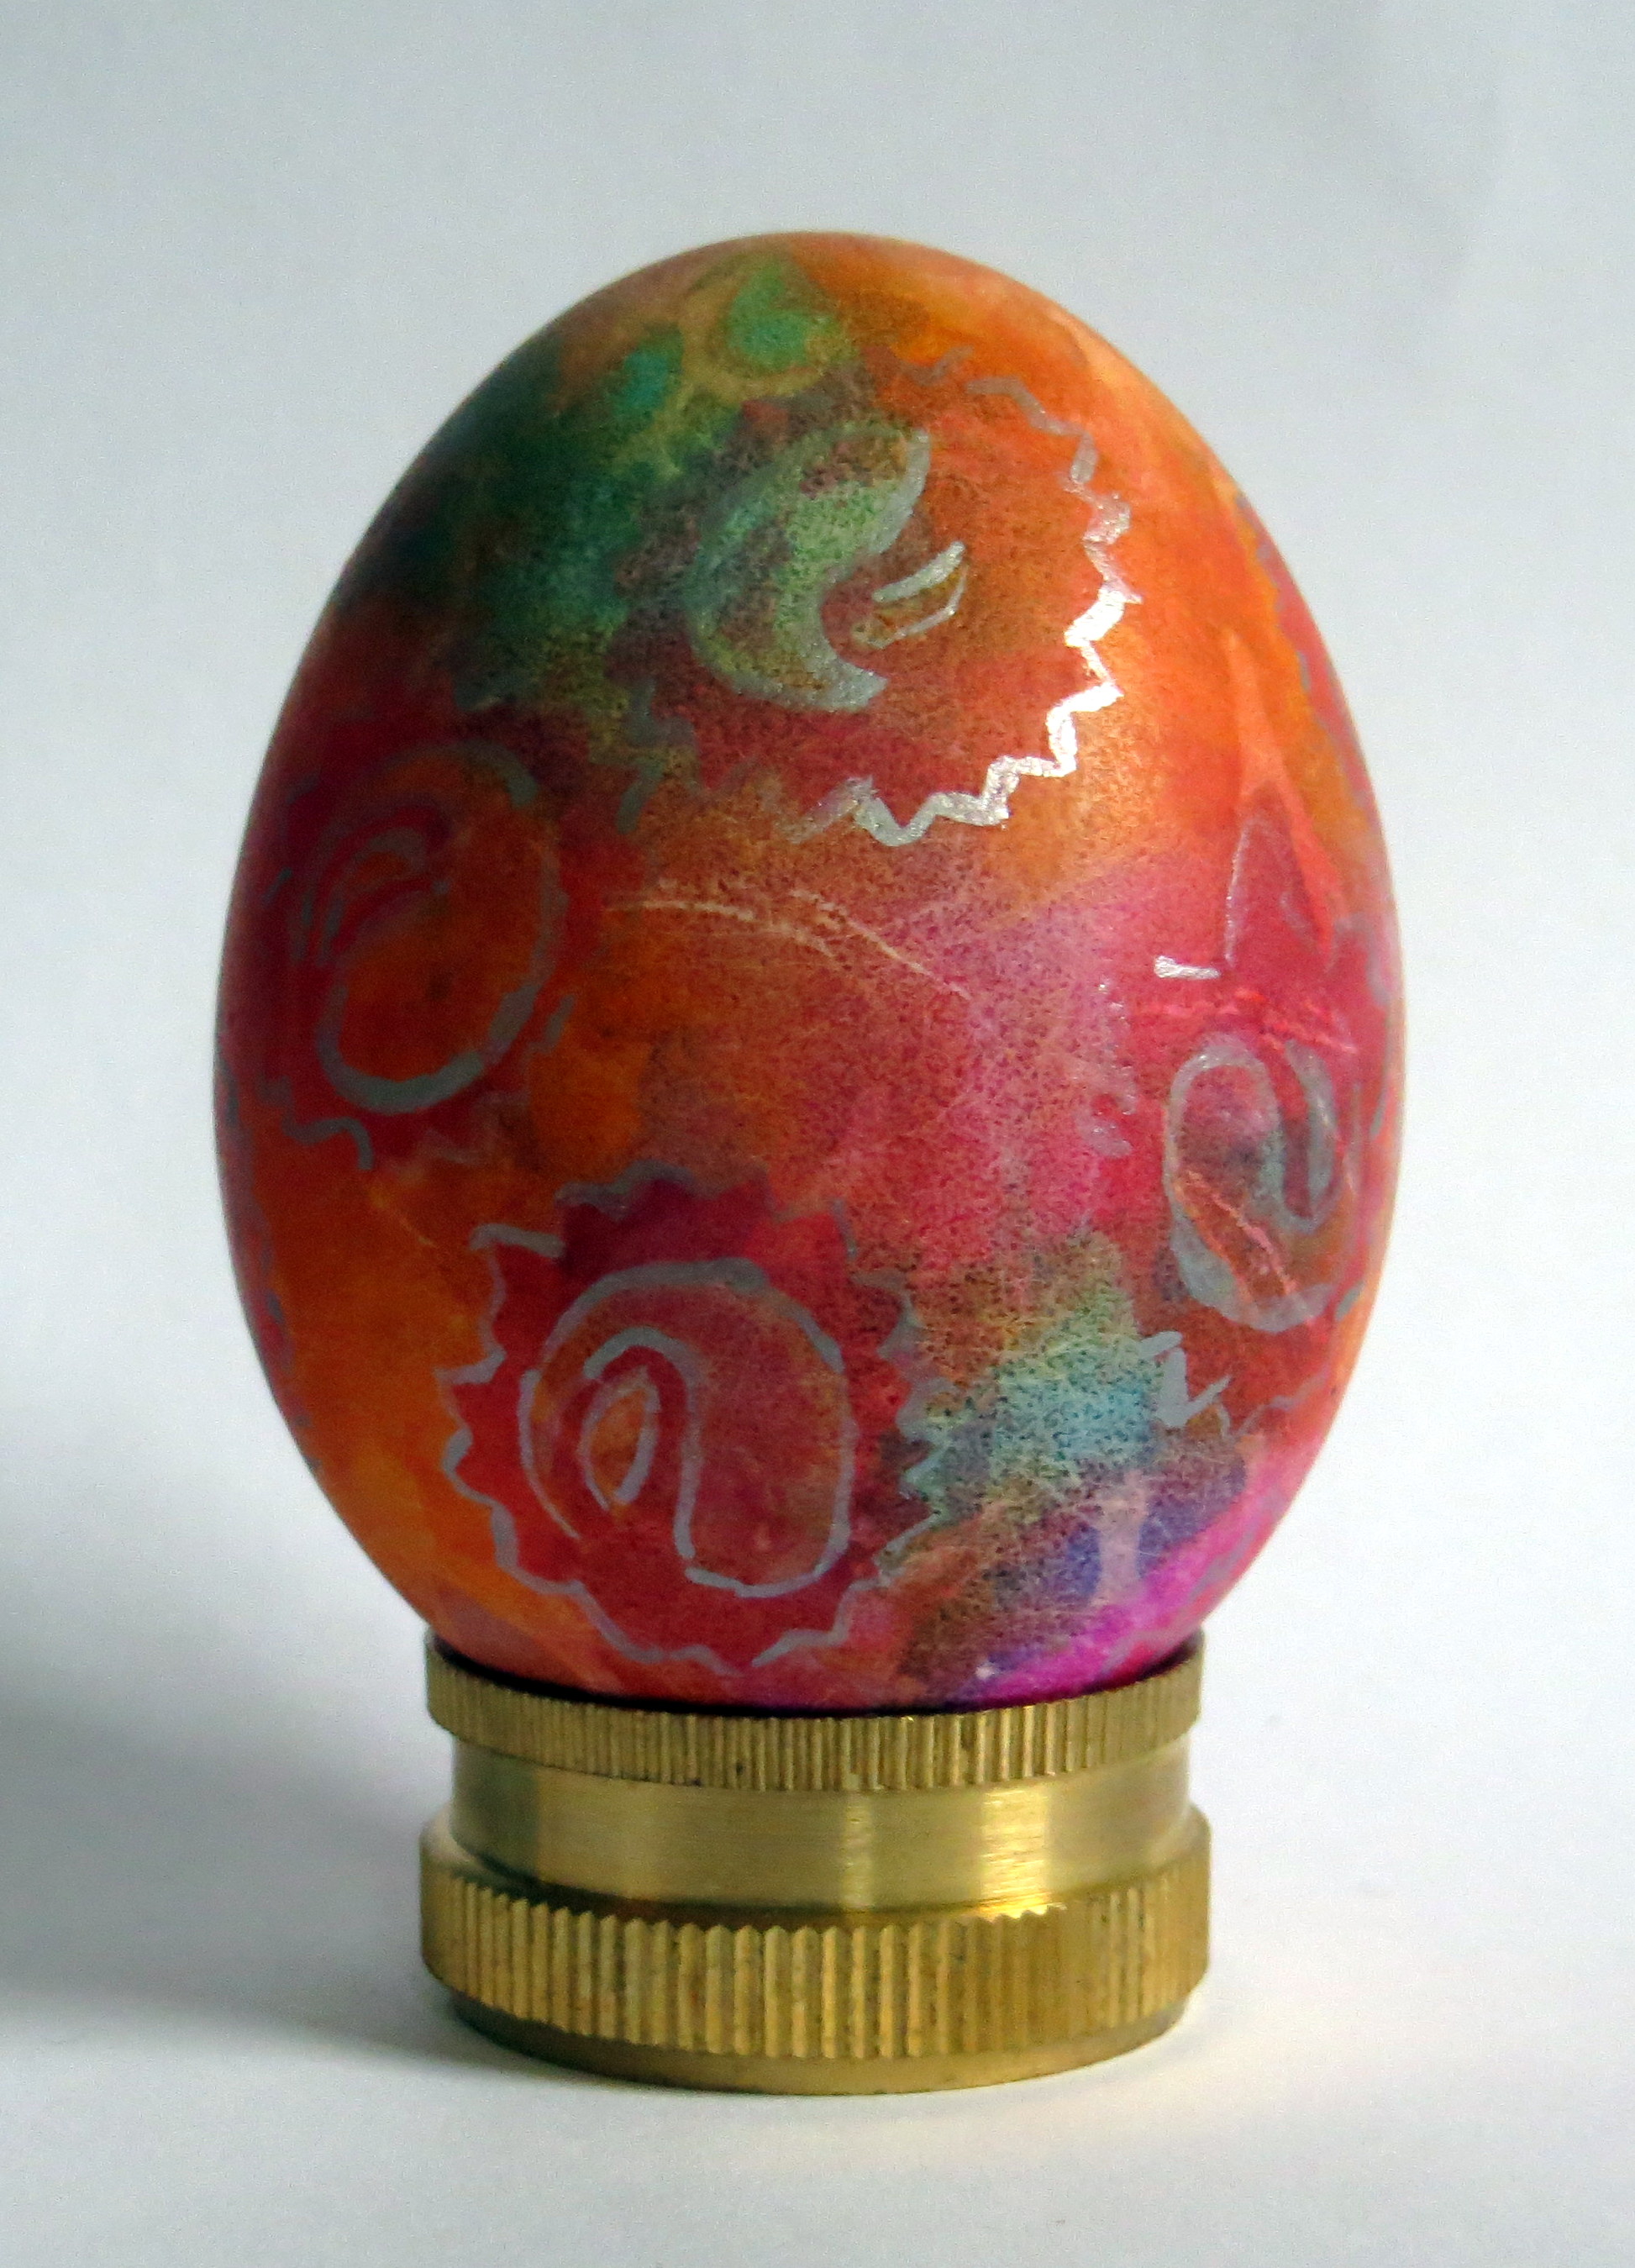
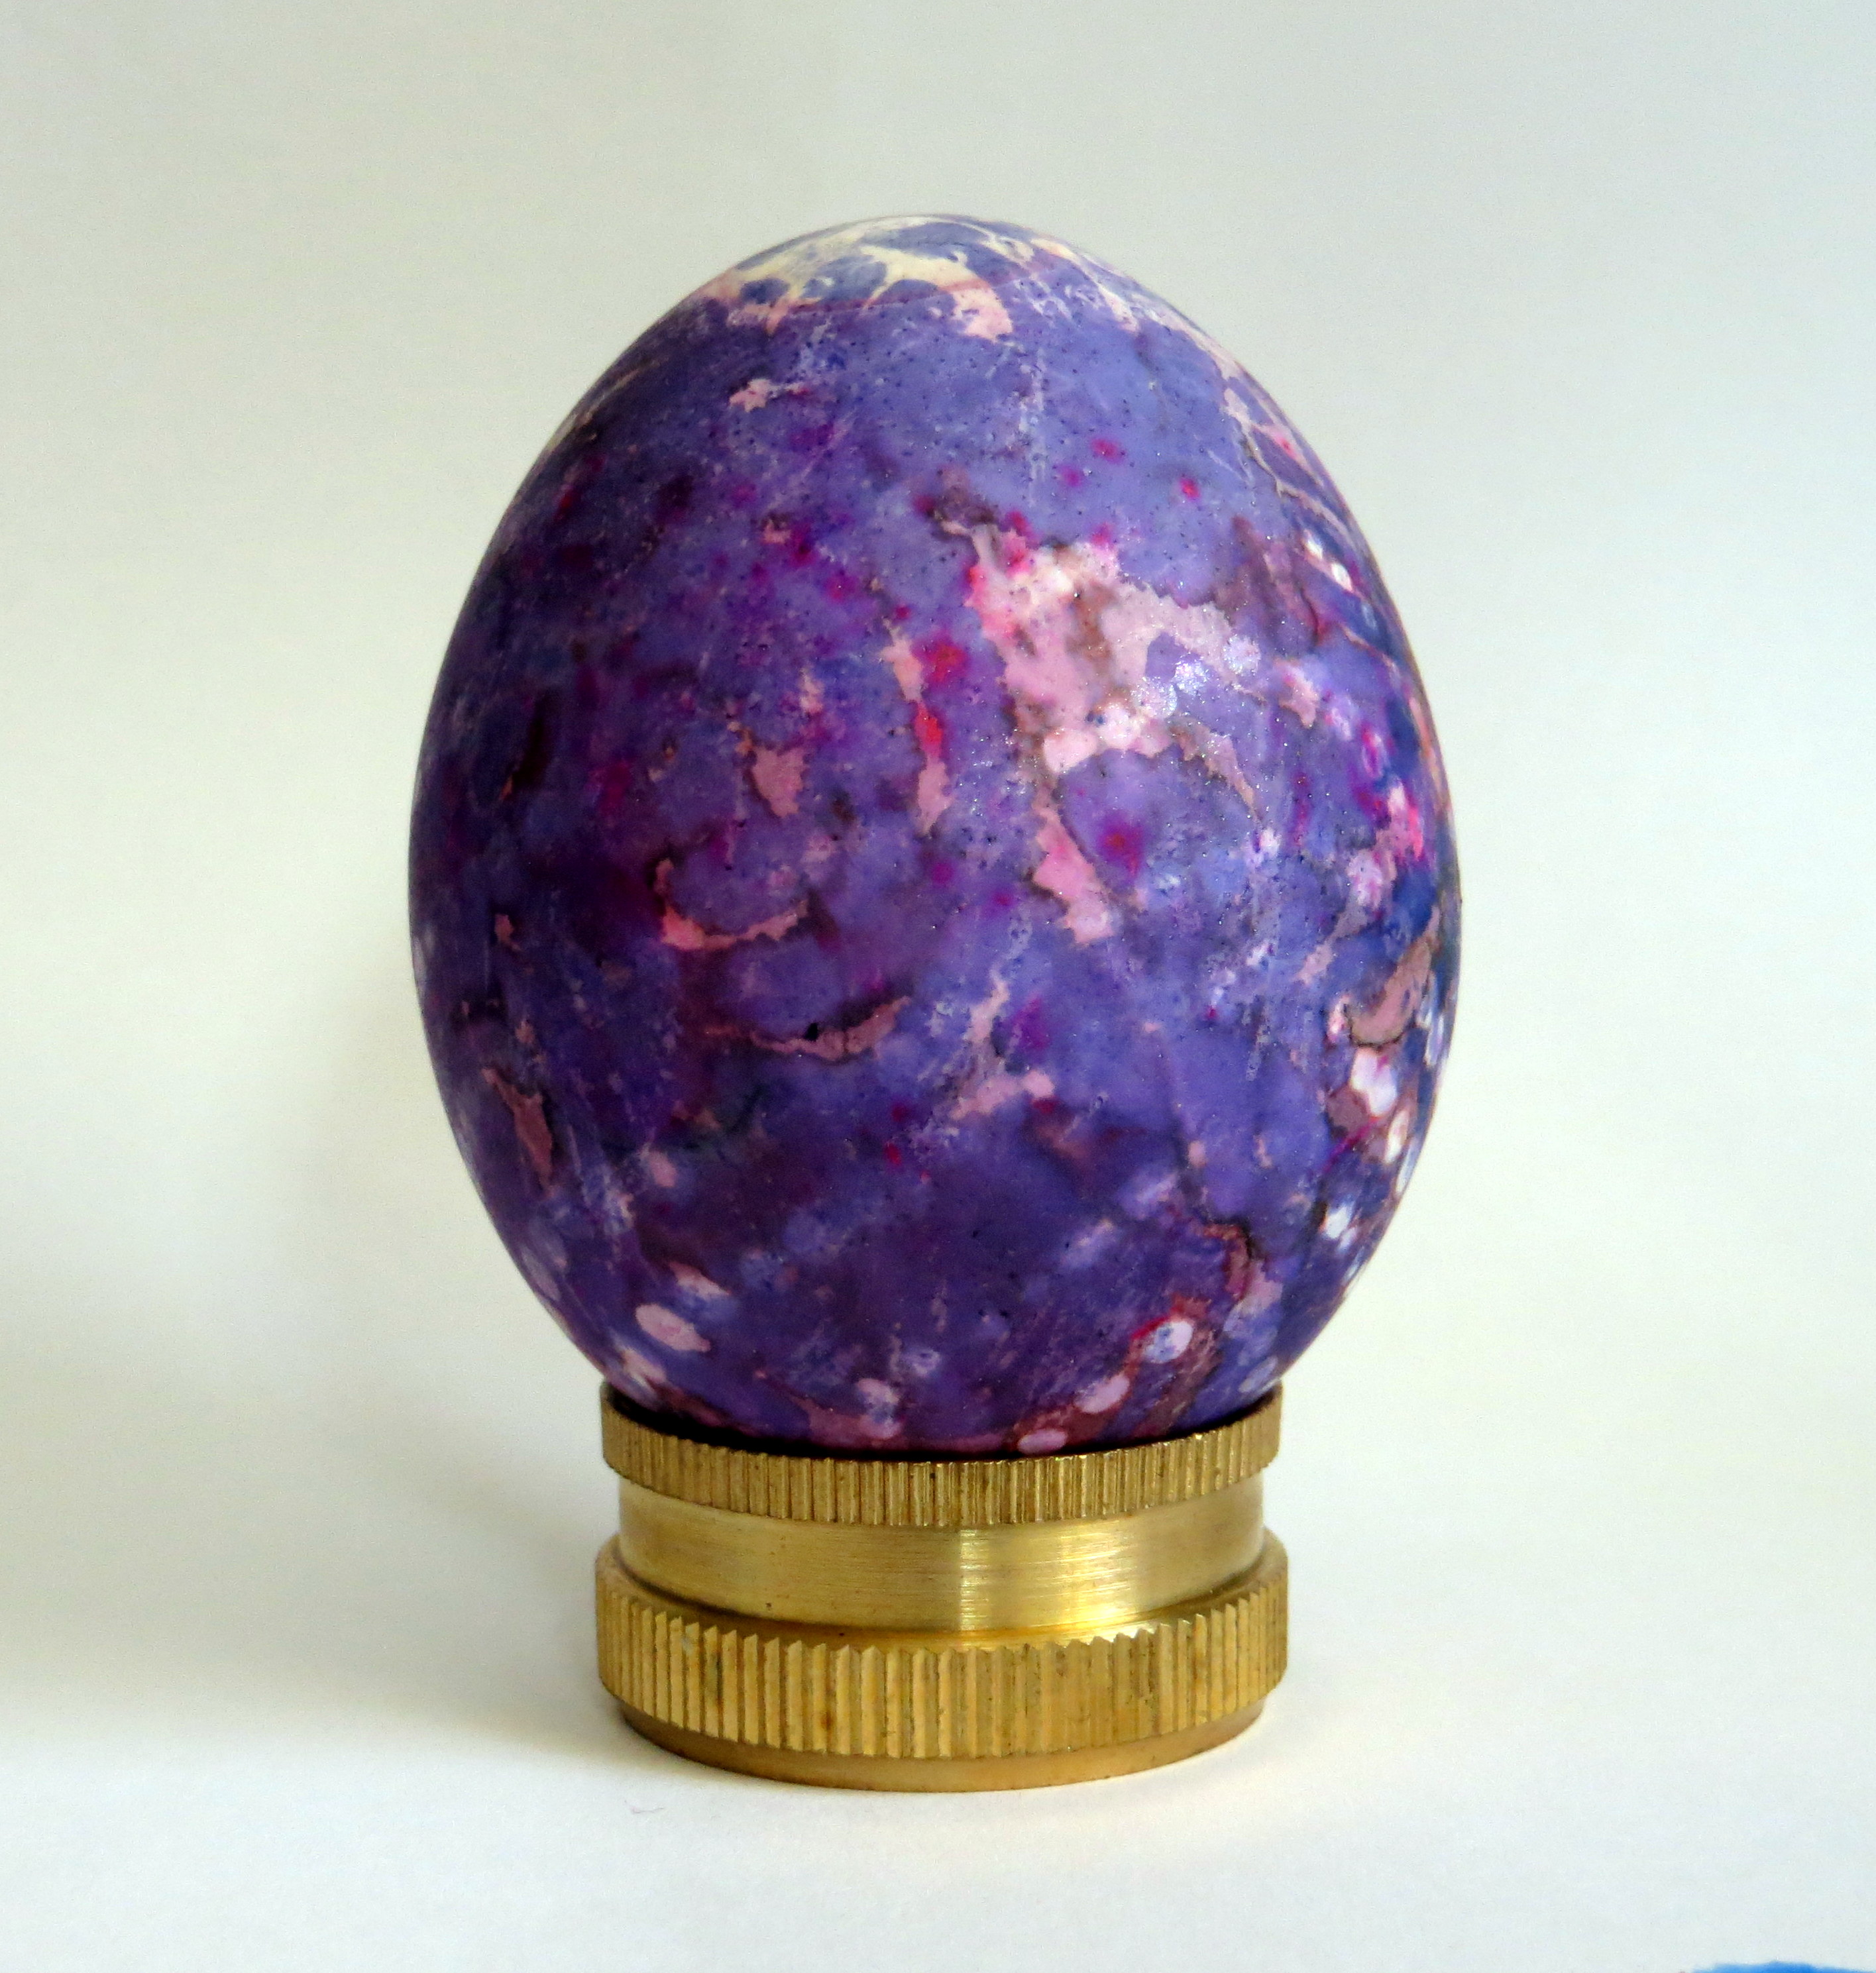
Originally dyed orange, waxed, and then dyed hot pink. An accident caused this to fall into a purple dye bath.
Originally I dyed this light blue, then covered the tip with wax and submerged it in blue dye again to get the next band of color. I added more wax, and repeated the process twice more. After the egg was finished I cleaned off the wax residue with Goo Gone, then waxed the egg again using the kistka my father made me.
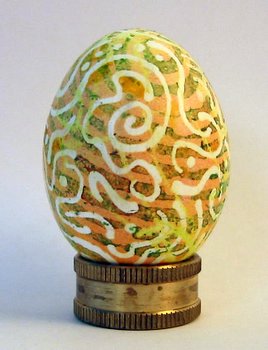
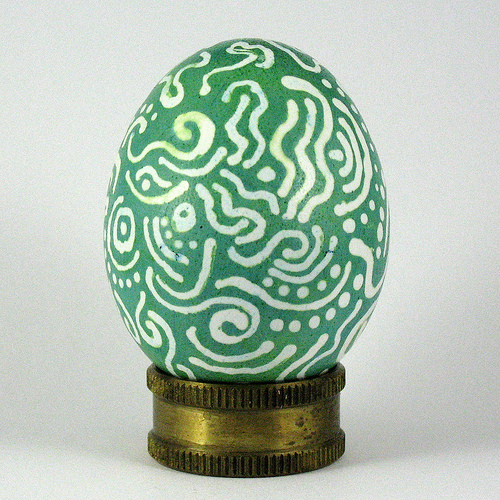
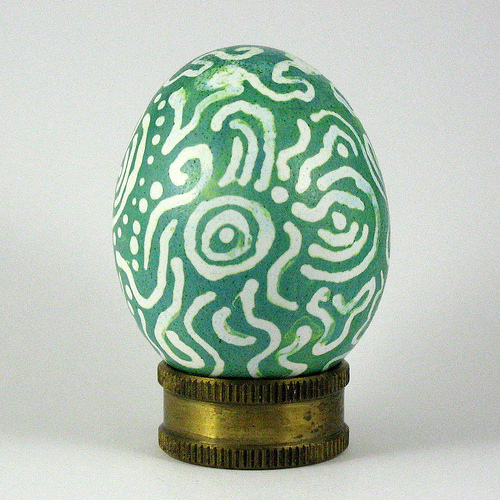
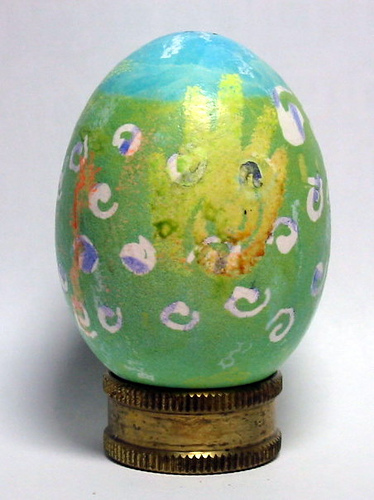
I applied green VersaTex to to the unwaxed areas, then removed the wax. I finished the egg with a light dusting of some mostly-green embossing powder.
I’m not sure what this is, aside from ugly. The wax is uneven, the color is blotchy. And what’s with the lines? I think they’re fabric crayons.
Wow. Somehow more wax and a plum dye bath turned this from an ugly duckling into a swan. The colors aren’t as harsh, and the “flaws” suddenly become advantages.
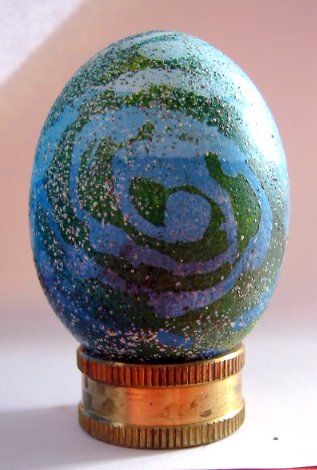
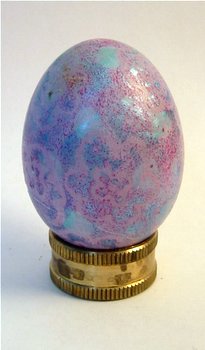
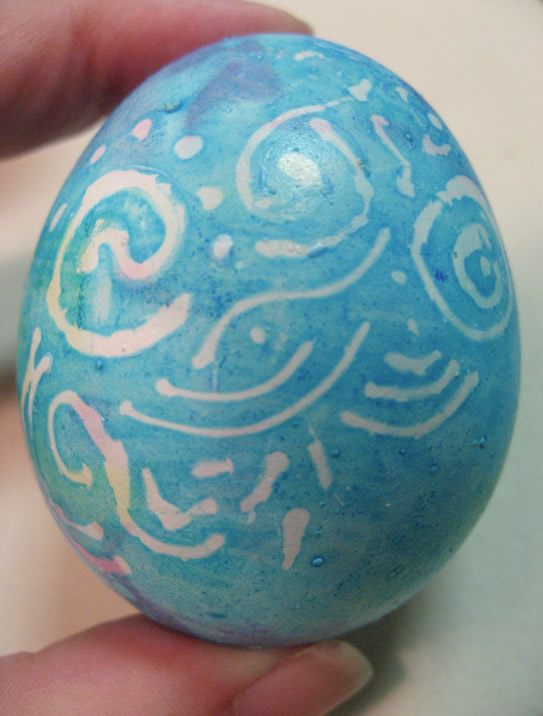
I wonder what happened to this egg? I don’t remember giving it away, but it’s not in my collection any longer. It had a little color from the first dye bath; maybe from a not-so-great tie dye experience. I waxed it, dyed it blue, and then finished it with silver embossing powder.
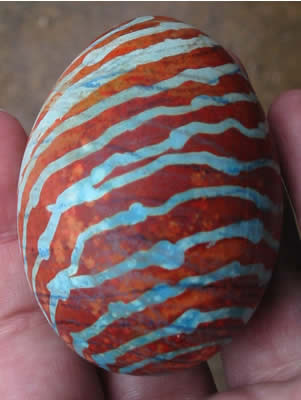
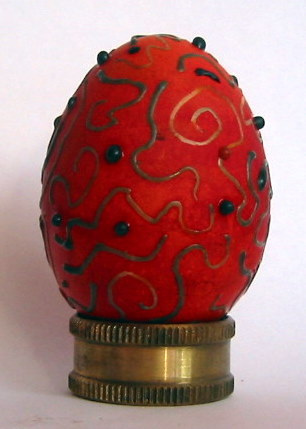
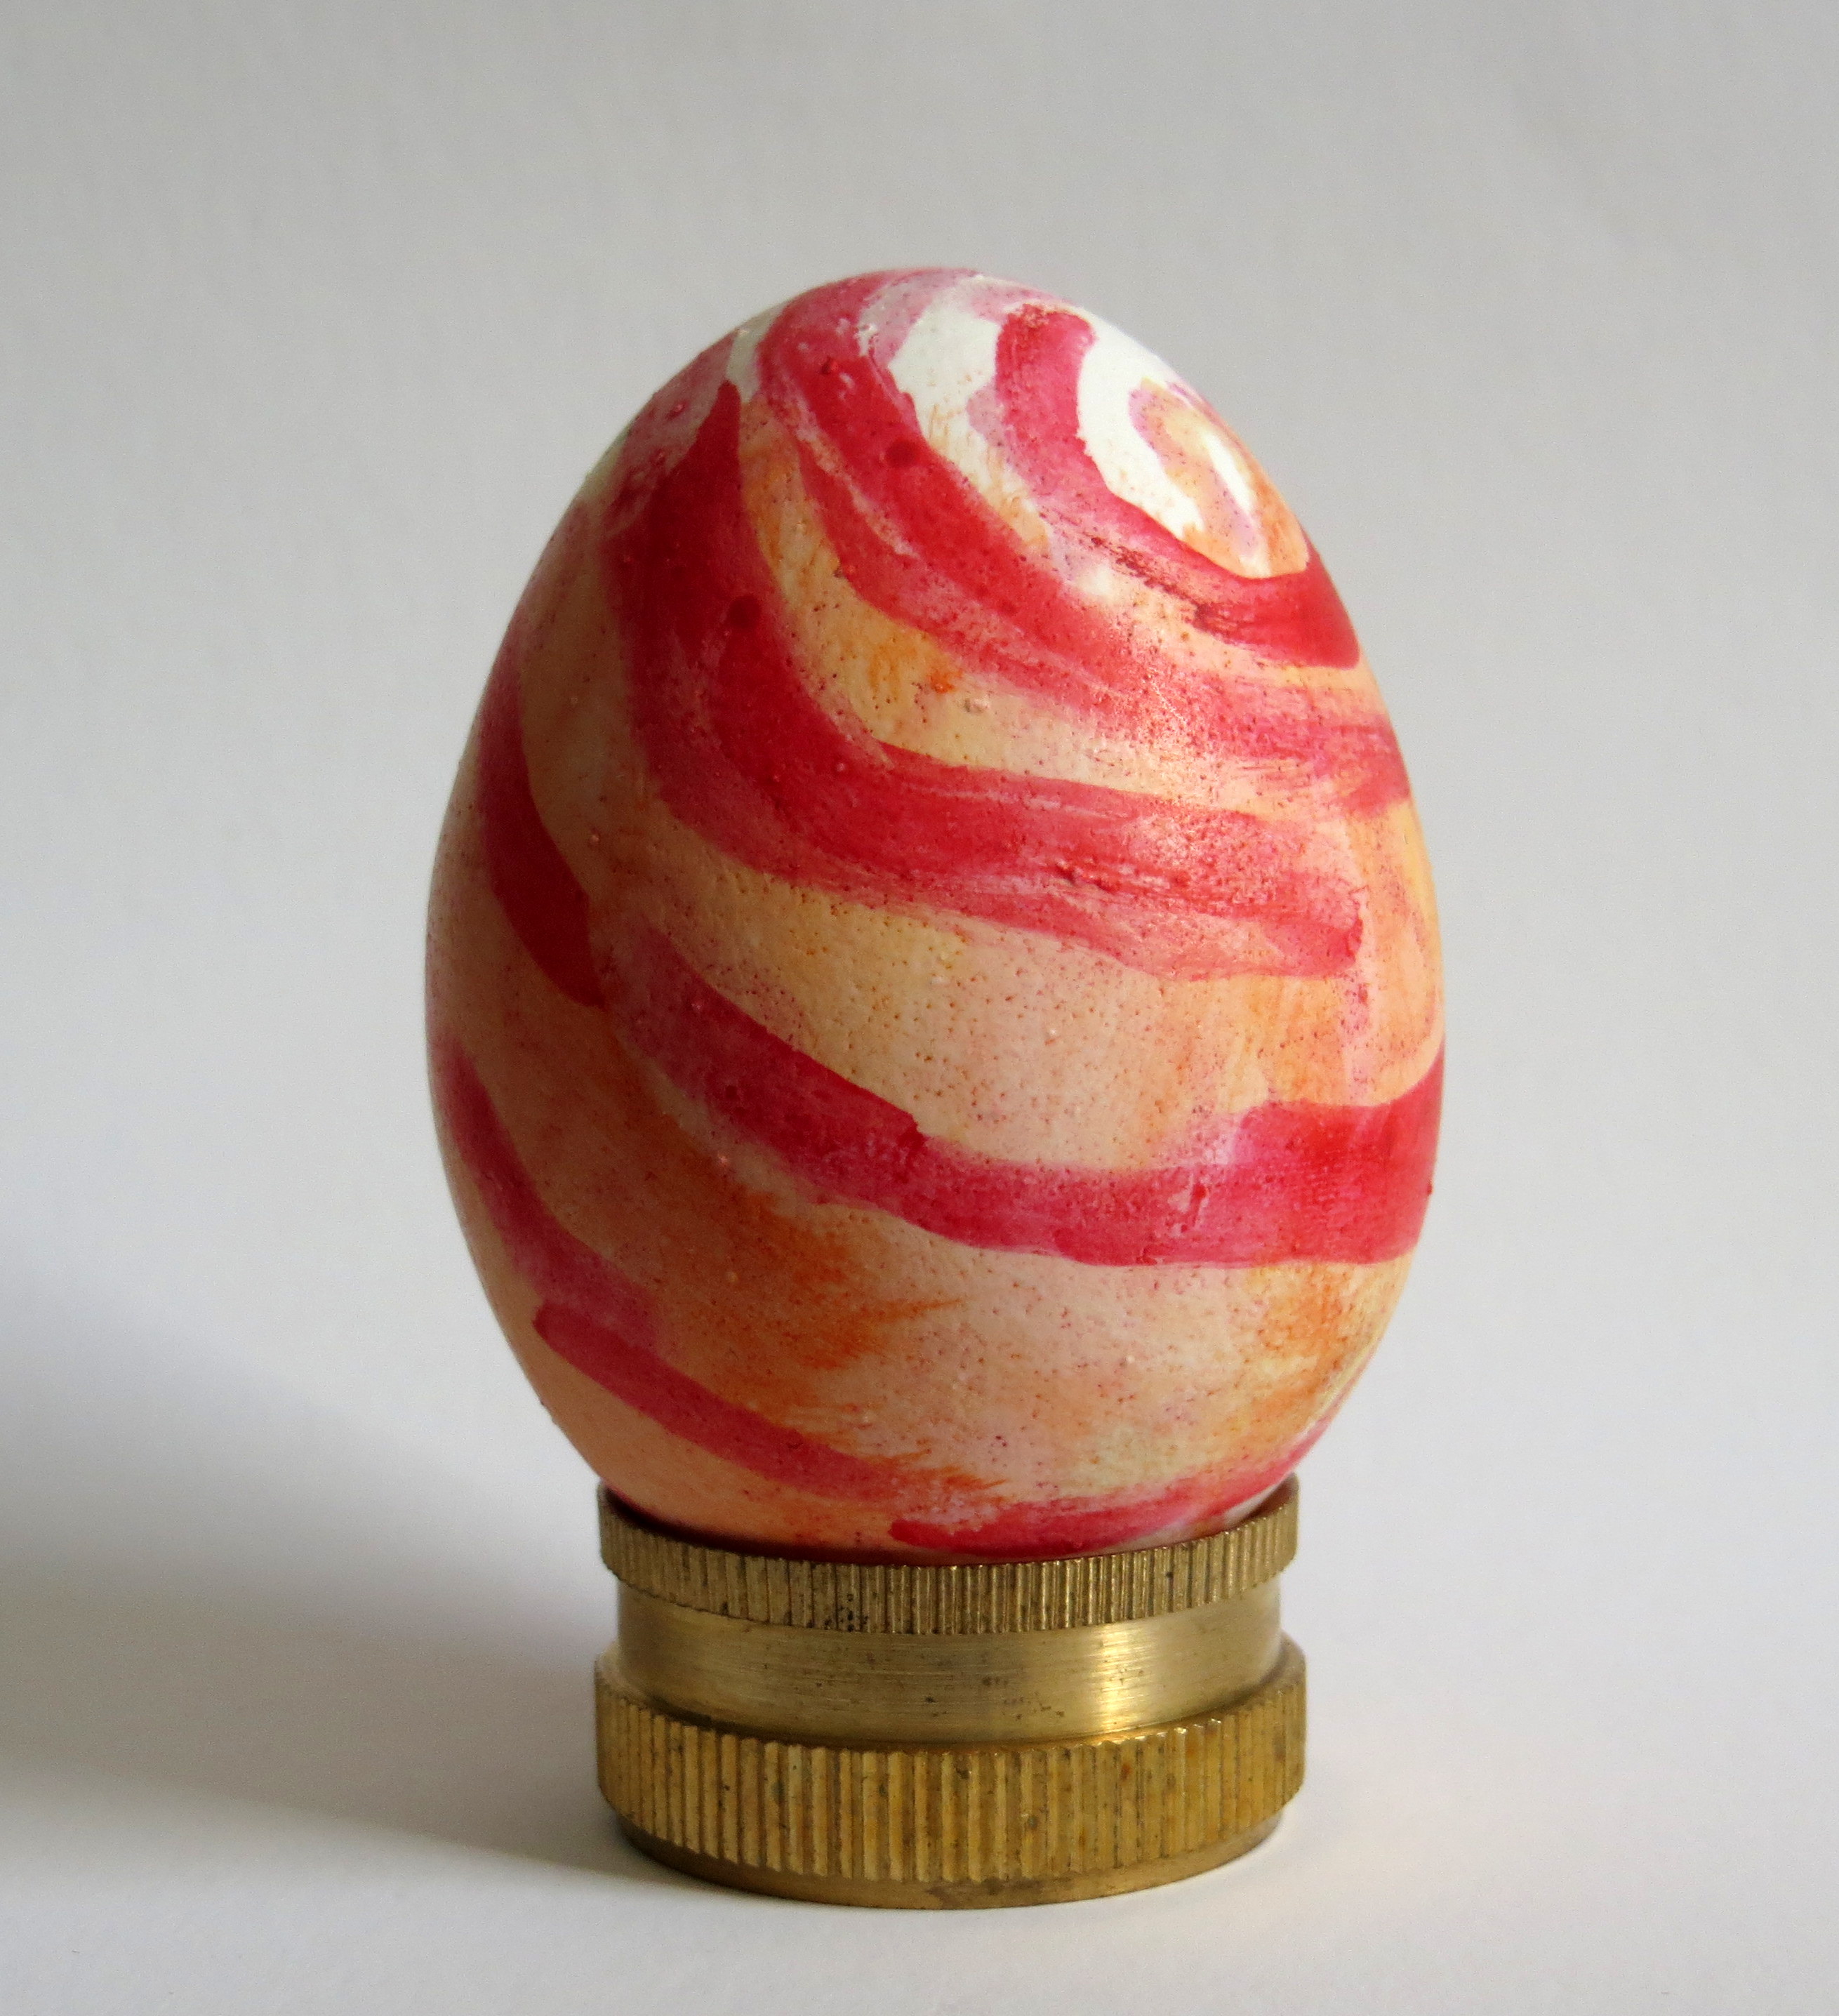
This egg went through multiple red dye baths, with a coat of wax applied between each bath at each end of the egg to create the layers. Afterwards the wax was removed with a heat source and the egg cleaned with Goo Gone to remove any lingering traces of wax. A new pattern was applied.
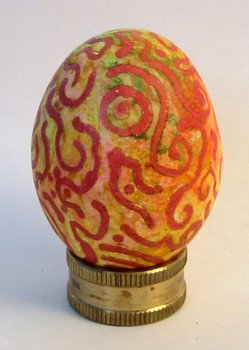
Dyed a dark orange, wax removed. Outlined in gold leaf paint to add contrast and visual interest.
Yellow-and-pink oil-marled egg with navy Versatex ink rubber-stamp.
Melted wax dribbled on with a spoon.
Egg dyed lavender.
One of the first eggs where I put too much vinegar in the dye (by accident this time, but deliberately after this!) and the dye rubbed away when I was rinsing off the egg. I went with it. Also very concerned about melting off the wax and leaving a stain on the egg, so I chipped the wax off with a craft knife, which is why it looks a little chipped in places.
Dyed with a PAAS Tie-Dye kit.
Waxed with my Daddy Kistka and dyed in a PAAS Tie-Dye Kit with PAAs dyes.
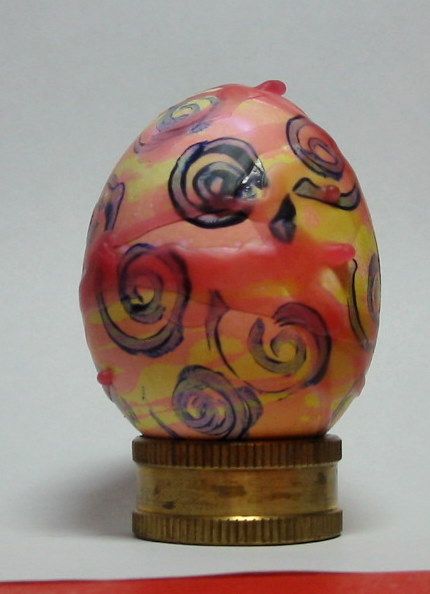
1) Wax on white egg. 2) Fuchsia dye. 3) More wax
Dyed aubergine.
Wax removed. I’m not happy with it.
So I add gold embossing powder. Meh.
Still not content, I applied black acrylic in another overlapping pattern. It’s better, but it still doesn’t rock my world.
This is a rather weak oil marbled egg, pink on a white shell. I waxed off huge areas, and then dyed the egg dark blue, hoping the dark color would help pull out the pink. It didn’t work. The egg was going nowhere quick, so I took a chance and (for the first time ever!) coated it with embossing powder. Since this was a new technique I messed up — the embossing powder is so thick on the other side of the egg that it obscures the design. Later I varnished this, and it yellowed.
Dyed in a PAAS Tie-Dye Kit. The dark spot on the egg is my thumbprint, dirty from another dye bath.
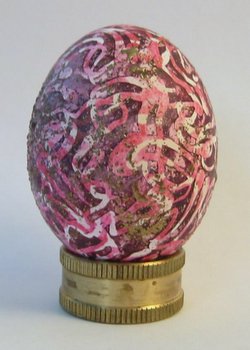
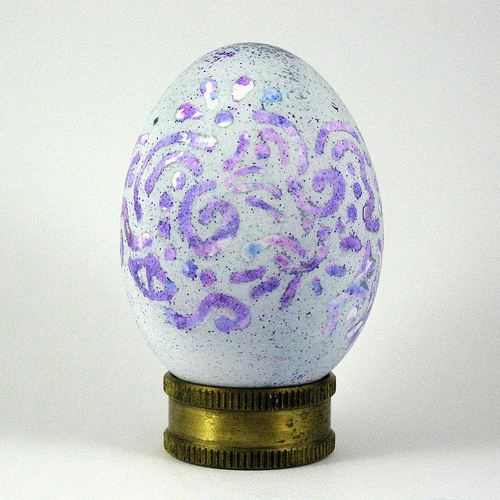
Silk tie egg, predominantly purple, waxed over and dyed green. Darker purple Jaquard Lumiere dry-brushed added.
The back of the egg.
Wax and red dye. Inspired by the flower love-lies-bleeding. (The name, not the actual plant.)
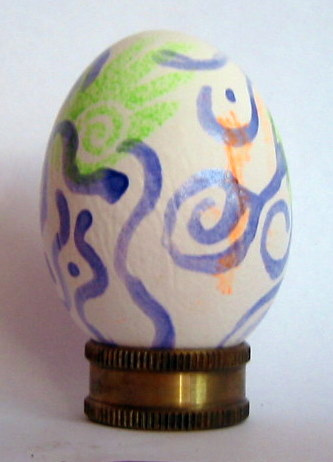
Blue dye over red paint.
Another view.
Yellow egg, waxed, then dyed green with food coloring, then waxed again with a larger kistka. No idea where I’m going with this.
Not fond of this at all.
Added gold embossing powder. Still not working for me.
Wax on red dye.
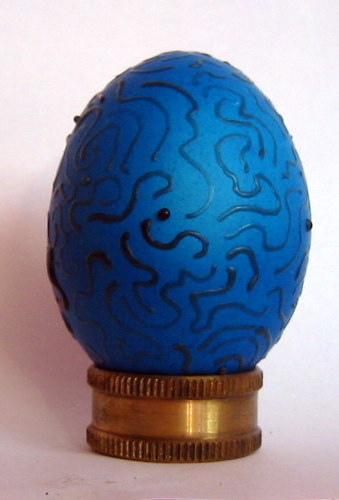
Blue dye; wax removed.
Originally dyed yellow and waxed, then orange and waxed, and finally dyed black and waxed. Dye removed, probably with Fantastic.
Egg dyed blue.
I varnished this and the varnish turned distressingly yellow. I used nail polish remover to remove the varnish, and in the process put my thumb through the weak, wet eggshell.
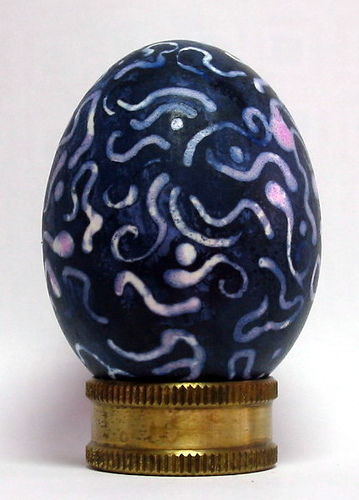
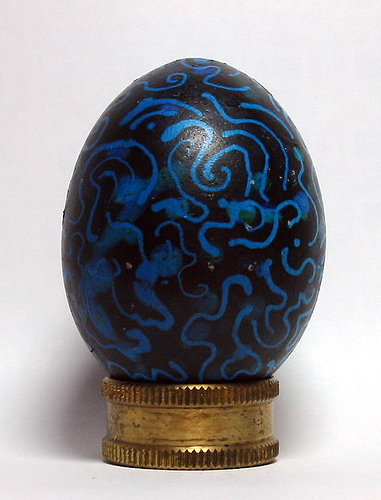
Started life as a nice mint green color. Wavy lines waxed in, and then egg dyed black. The wax was removed, and then more wax was applied in spots.
Egg briefly soaked in vinegar; dye partially removed through a lot of scrubbing.
Wax removed. This is one of my favorite eggs.
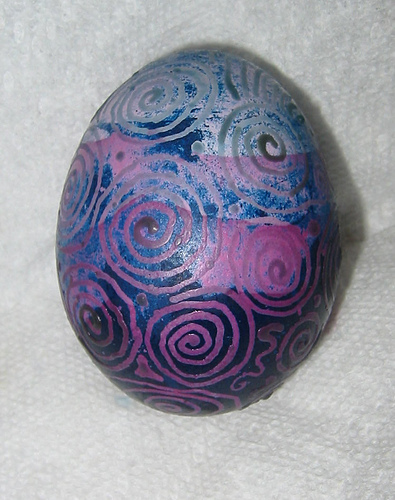
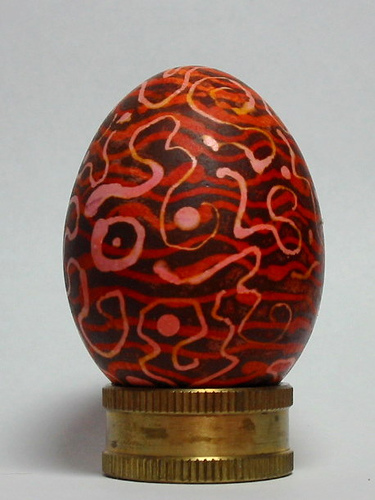
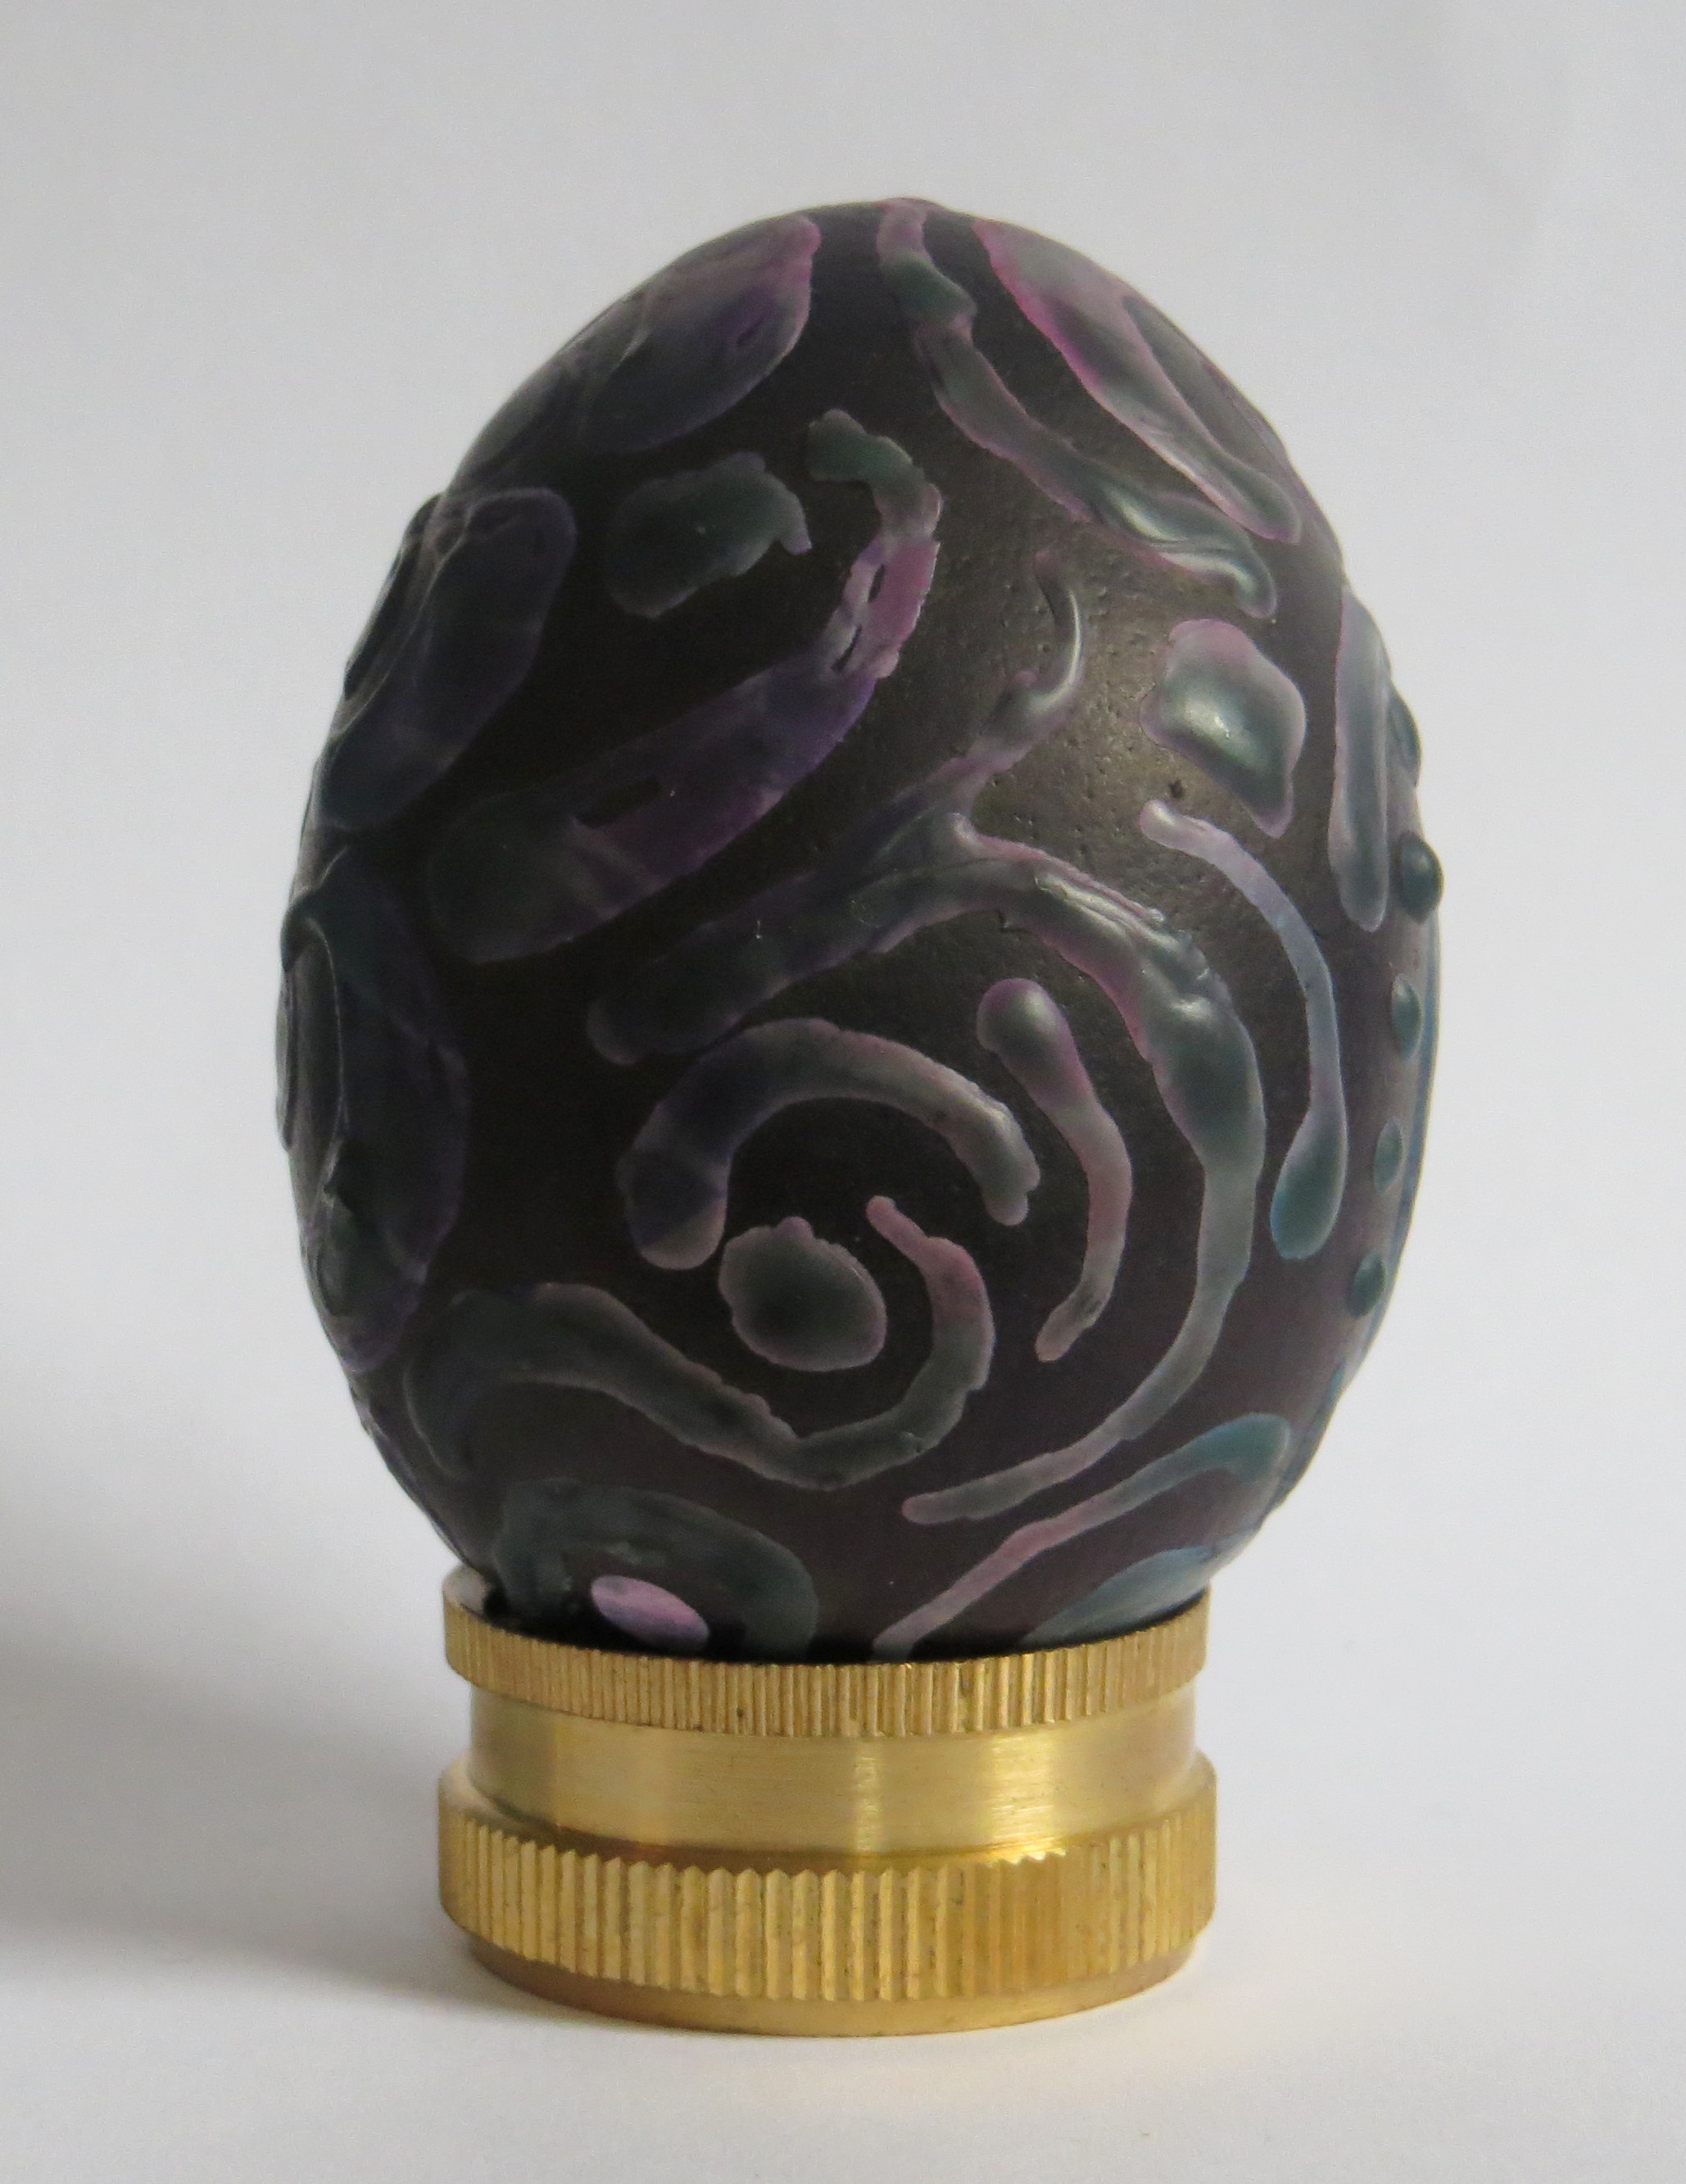
The egg was dipped in purple dye, and waxed after each brief stay in the dye to build up the purple layers. Once the process was complete the wax was removed and the egg was treated with a solvent, probably Goo Gone, to remove any lingering traces of wax. Next, a new wax pattern was applied.
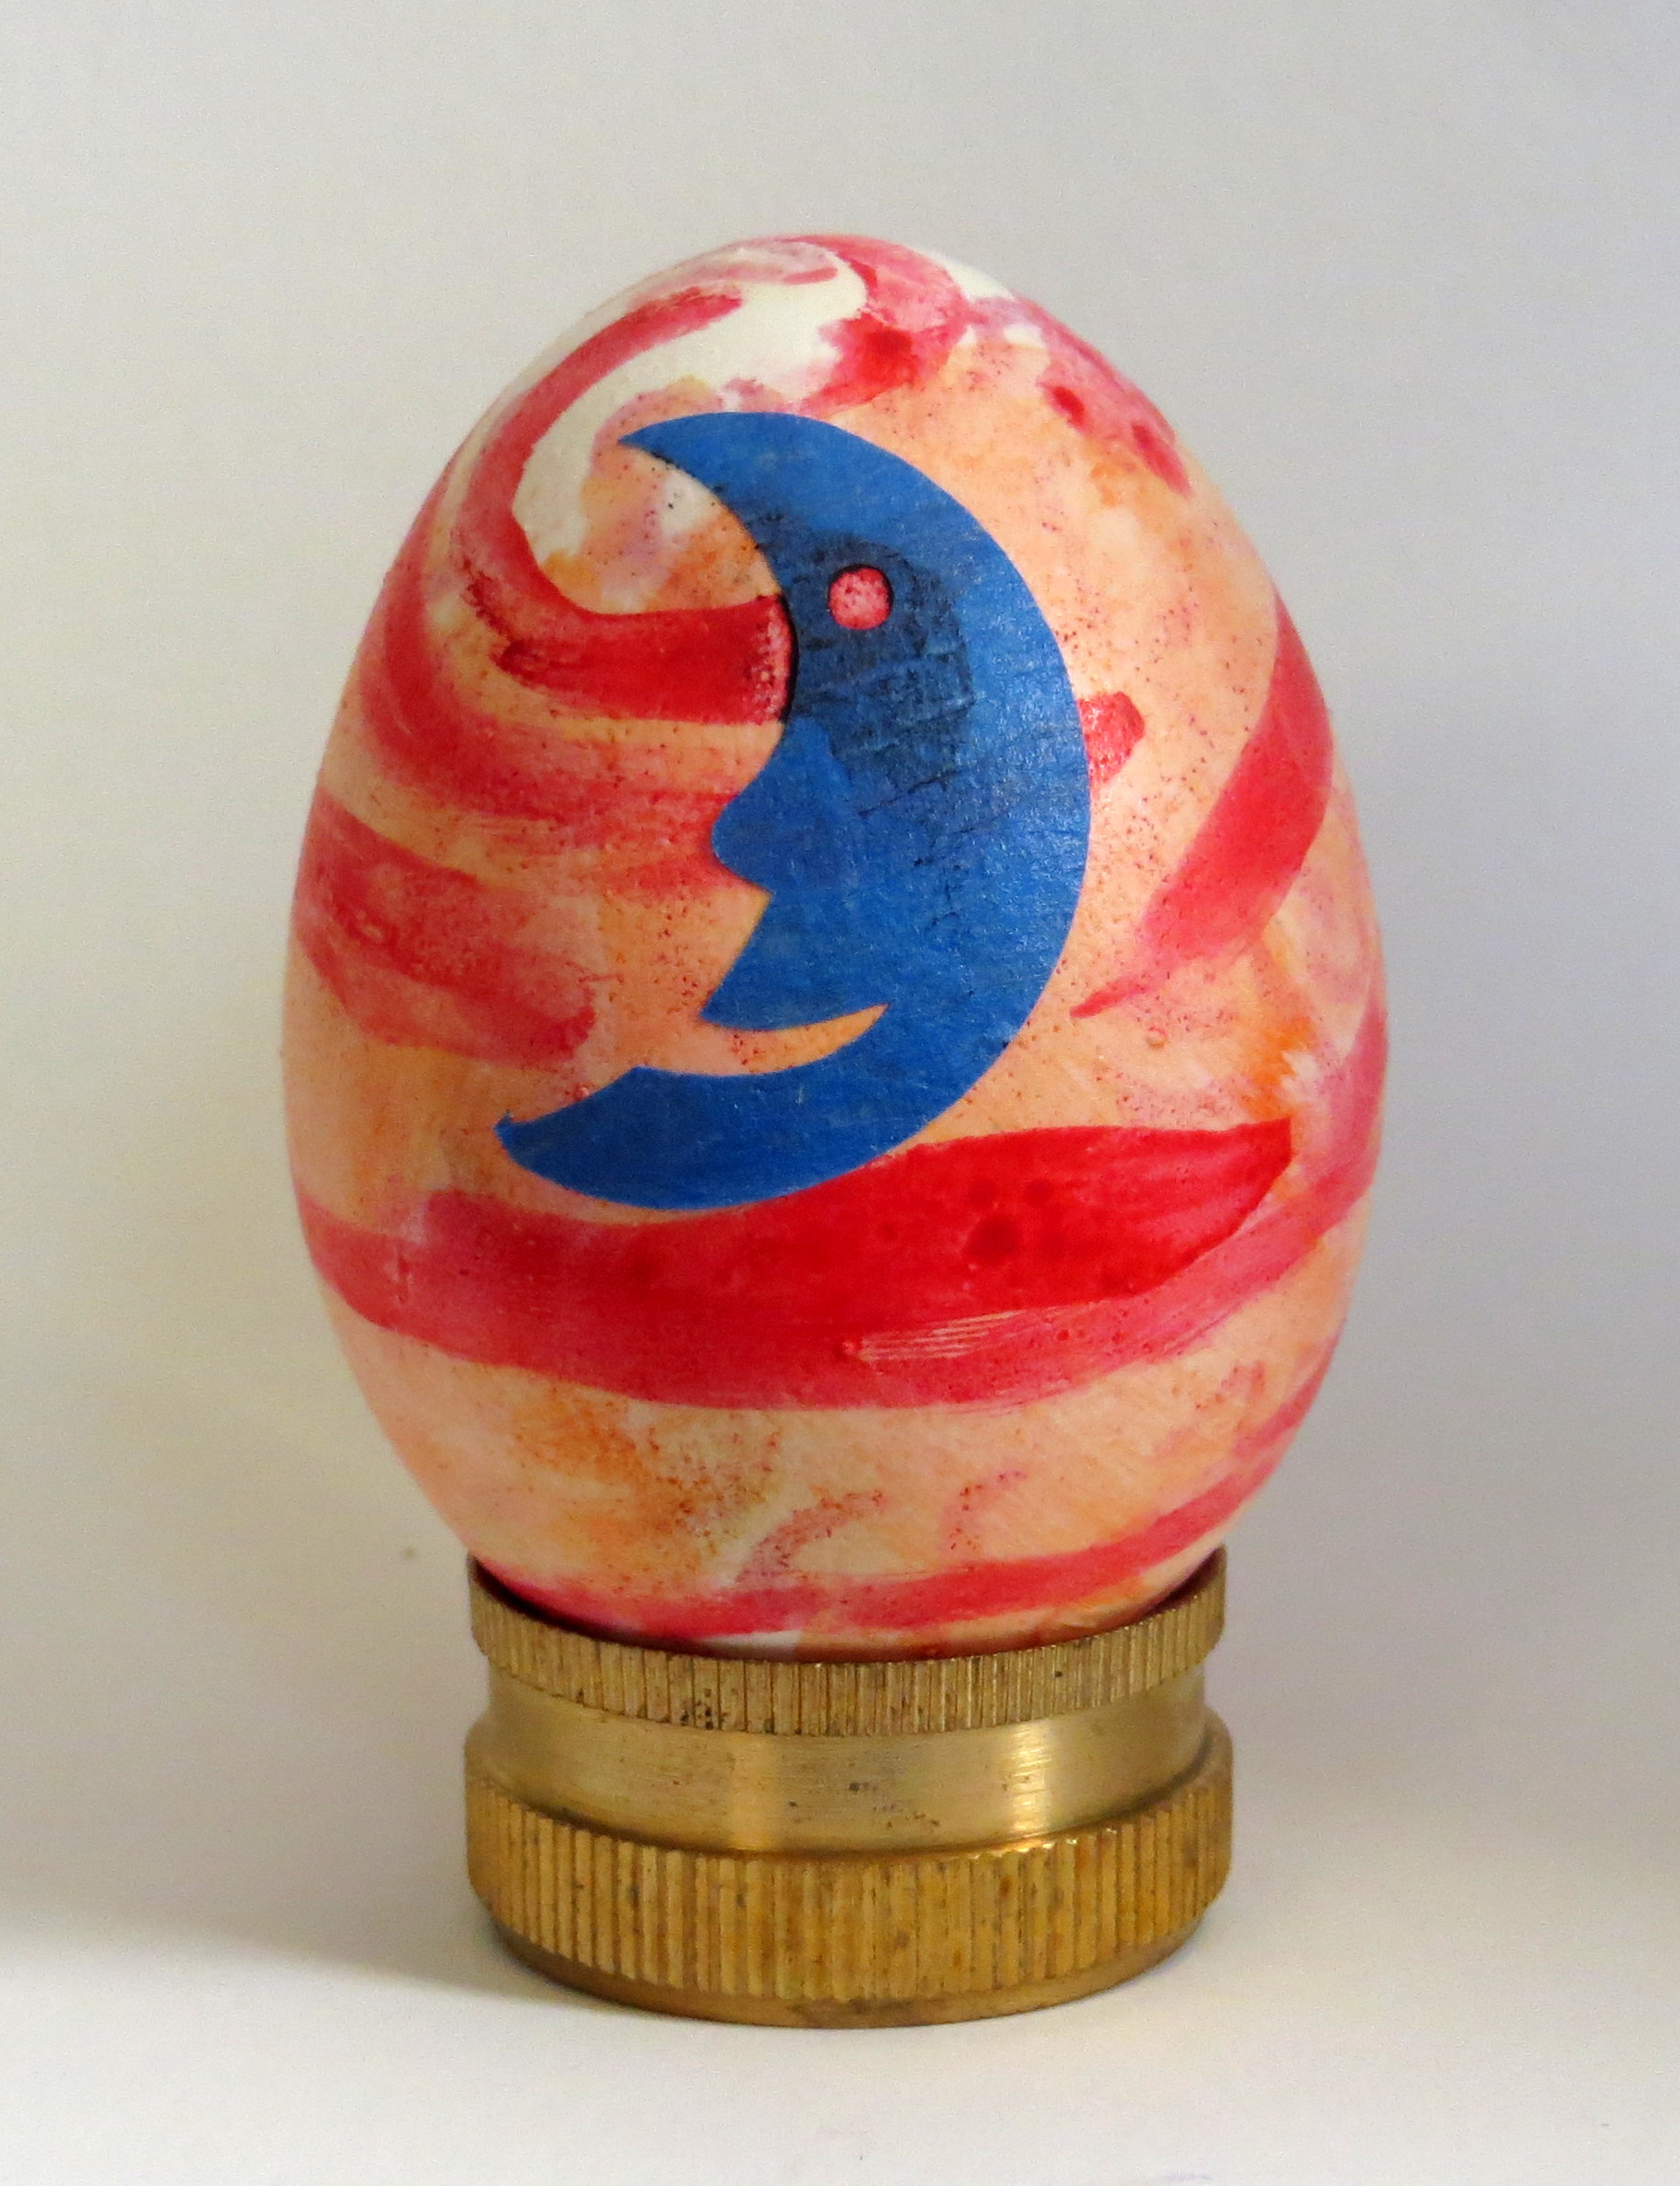
Blue VersaTex ink was applied to the egg in order to see if versaTex could cover the fine details of the new wax pattern.
The completed egg shows several patchy places where the VersaTex coverage fell short.
This egg was originally dyed in a scrap of a man’s silk tie. The tie didn’t transfer well, and only a few areas of color were on the eggshell, like the faint green patch on the upper left. I next used a Candle Deco pen to wax dot lines around the egg, and dyed the egg orange.
The strange spot in the top of the egg is an artifact of bad dyeing. That portion of the egg ended up resting in a puddle of orange dye. I was distracted, and didn’t get around to moving the egg for several weeks. The evaporating dye left behind this distinctive pattern.
The Candle Deco Pens also added some unexpected accents. This is one of the first eggs I used the pens on, and it surprised me to find that the border between the wax and the dye attracted extra dye! Also the wax pens weren’t totally waterproof — the egg was originally white, but the orange dye obviously managed to get through (below?) the wax and tint the dots.
This egg came out of a Dudley tie-dye frame looking almost exactly like this. The blue band at the bottom came from the not-so-clean egg stand I used to dry the egg. Sometimes art is knowing when to stop.
This egg, now owned by a close friend, had suns waxed on while still white. A PAAS tie-dye frame was used next, probably with traditional Easter egg dyes, and as a last step gold embossing powder was sprinkled over the egg and heat-set.
This egg was dyed blue and waxed with the tadpole design, then the wax was removed and the egg was dyed with green Easter egg dye. The white spots on the egg were caused by hitting the Easter egg dye with water in a mister bottle.
One of the few goose eggs I’ve completed, this egg was dyed maroon and waxed. The maroon dye was removed, probably with Fantastic, and then the egg was dip-dyed in brown and gray dye baths, with wax applied between each bath to create the layers of color.
Tim Holtz Alcohol Inks.
Waxed and dyed black, then wax removed. The design is a little delicate, it doesn’t really do justice to the amazing texture underneath.
This egg was originally dyed in a scrap of a man’s tie, then waxed and dyed blue. It was also hit with neon yellow Blo Pen Fabric Blasters.
Another view.
One more side.
This is my favorite side, excepting the accidental wax wobble!
This egg was wrapped in a piece of silk and placed in hot water. The dye from the silk (a piece of a man’s tie) transferred to the egg. I waxed in big “groovy” shapes, dyed the egg aquamarine, then removed the dye.
Another view. Notice the “seam” on the upper right where the fabric folded.
This is a fun closeup photo.
Sadly, the egg was a victim of yellowing varnish. I’m trying to decide if it’s worth trying to remove the varnish.
Another (yellow) side of the egg.
Waxed, then dyed in a PAAS tie-dye frame.
Another PAAS tie-dye frame egg.
This is most likely PAAS Tie-Dye, although there is a chance that it’s Dudley Egg Spinner. Waxed and then dyed indigo.
Another view.
Another view.
Another view.
This was dyed in a scrap from a man’s tie, then waxed and dyed yellow. More wax was applied to cover some of the yellow areas; probably dribbled on with a spoon. As a last step the egg was dyed green. The square shape was part of the tie’s pattern.
Pale blue egg waxed and covered with acrylic pearlescent paint. Additional design created with metallic acrylic.
Yellow egg, waxed. Dyed with Easter egg coloring crystals while wrapped in a puppy training pad.
Egg dyed with food coloring while wrapped in puppy training pad. Results unimpressive.
Pattern waxed on egg.
Egg dyed blue, but I feared there wasn’t enough contrast between the original color and the blue, so . . .
Egg dyed green in PAAS tie-dye frame. Egg is wet in this image, so dye looks more vibrant than it is.
Finished egg still lacks contrast, so I outlined the wax pattern with gold metallic acrylic.
Egg dyed in blue dye bath for progressively longer periods of time. After each session the egg was partially waxed to create the layers. Later I removed the wax.
Next I waxed a new pattern on the egg, then dyed it black, and lastly removed the remaining wax.
I waxed flowers on a lavender egg, then coated it with German egg “dye” that was really pearlescent paint. I finished it off with some embossing powder.
I originally dyed this egg burgundy, then waxed on a design and dyed the egg black. It still needed something, so I added a little embossing powder.
Egg dyed in blue dye bath for progressively longer periods of time. After each session the egg was partially waxed to create the layers. Wax later removed, and new wax pattern applied.
Next I dyed the egg gray-blue, and removed the wax.
This egg was originally red. I waxed a pattern on it, and dyed it with Easter egg coloring crystals while wrapped in a puppy training pad.
More images
More images
More images
My niece Robin tried to write her name on this egg. The orange-y splotches are from a neon orange blo-pen fabric blaster.
This isn’t really my egg. My niece Robin made it when she was about eight.
Another egg by by niece Robin. It started life as a green-pink oil marbled egg, then she waxed on lines and dyed it purple. Our dye clearly had too much vinegar; I must have let Robin pour.
More images
More images
This egg was dyed in a PAAS tie-die frame using green Easter egg dye.
Sadly, I decided to varnish the egg. This was in the bunch where the varnish yellowed.
Another image of the yellowed egg.
Dyed with Spectra Art Tissue.
I rubber-stamped the egg with a foam stamp I made. The ink on this side is a little light, so . . . .
. . . on this side I used a different color (still light) ink, but followed it up with a blue archival ink.
This is my “Green Jupiter” egg. It was dyed with green Mickey Mouse neon dye that I sadly can’t find any longer. They had amazing color, and if you sprayed the egg with a mister bottle containing water the dye would spot. After dyeing the egg green, I tried to oli marble the egg, and left it in the oil bath for a few hours, trying to get a nice, dark red. It didn’t happen, but a dark red spot did appear from where the egg was in contact with a spoon also left in the dye bath.
This proud beauty was originally dyed with one of my favorite dyes — Rit dark green, in powder form. That dye is fun to scrub off the eggshells because it sticks in the deeper pores on the shell. After scrubbing away the dye I waxed on a pattern, and dyed the egg with Rit wine dye.
Dyed with Spectra Art Tissue.
I waxed a pattern on the egg and dyed it black.
The reverse side.
Wax removed.
Another view of the final design.
Egg dyed with a scrap from a man’s tie. Painter’s tape decals applied.
Dyed in aquamarine Rit, decals removed.
Dyed with Spectra Art Tissue.
The egg, with a new waxed pattern.
Another view of the waxed pattern.
Next I washed the color off the egg with Fantastic and vinegar, then dyed the egg aquamarine.
I decided to “shadow” the original pattern by making the wax lines thicker.
Next I dyed the egg purple.
And lastly I removed the wax.
Another view.
I dyed this egg yellow and waxed on a pattern, then dyed the egg blue and waxed on another pattern before dyeing the egg green. This is the resulting egg after all the wax was removed.
I dyed this egg orange and waxed on a pattern, then dyed the egg fuschia and waxed on another pattern before dyeing the egg black. This is the resulting egg after all the wax was removed.
This egg was dark blue with a pattern waxed on. I removed most of the dark blue, probably with vinegar, then dyed the egg a lighter blue and removed the wax.
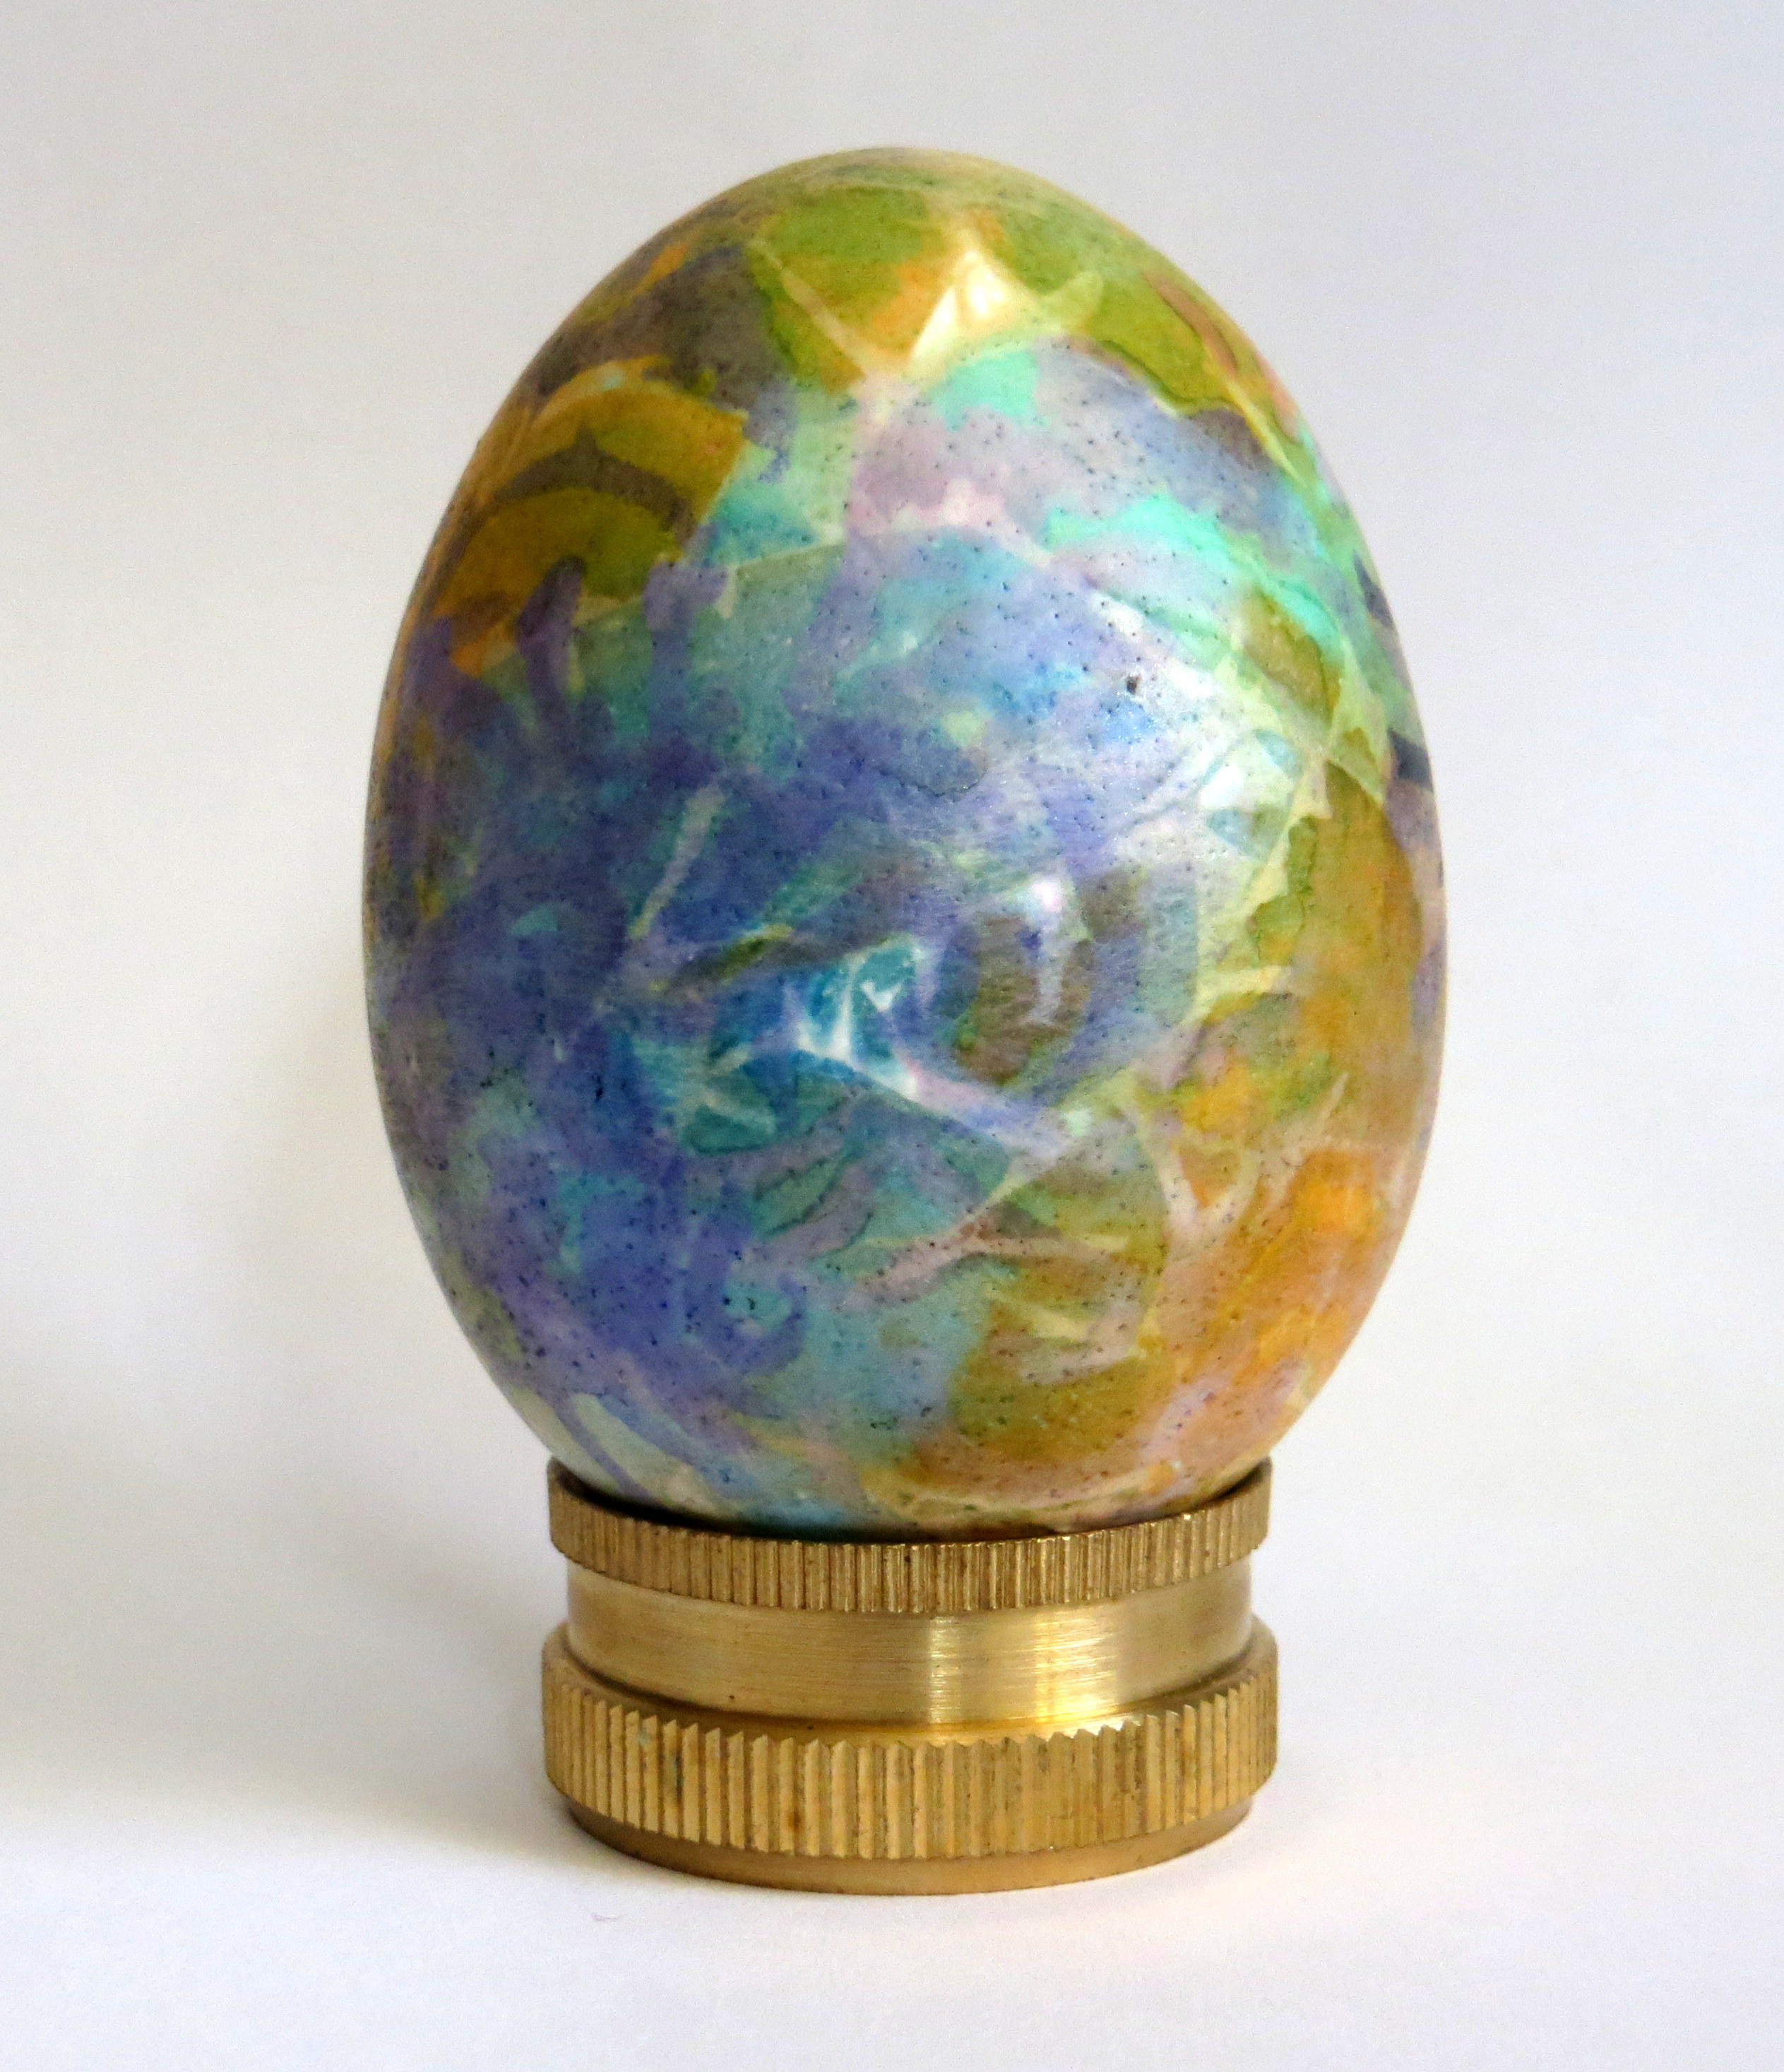
I honestly don’t remember how I created this. It looks like a lot of things gone wrong, but somehow still interesting.
Yellow egg with a waxed pattern dyed orange. Wax removed.
My sister Charlotte colored this one with Sharpie. We tried to smear the ink using rubbing alcohol but weren’t very successful.
Next I dribbled melted wax on the egg and dyed it black. As you can see, it wasn’t completely dry when I took this photo.
Wow — a lot of the Sharpie melted away with the wax.
The pale colors, including the yellow sun, were particularly affected.
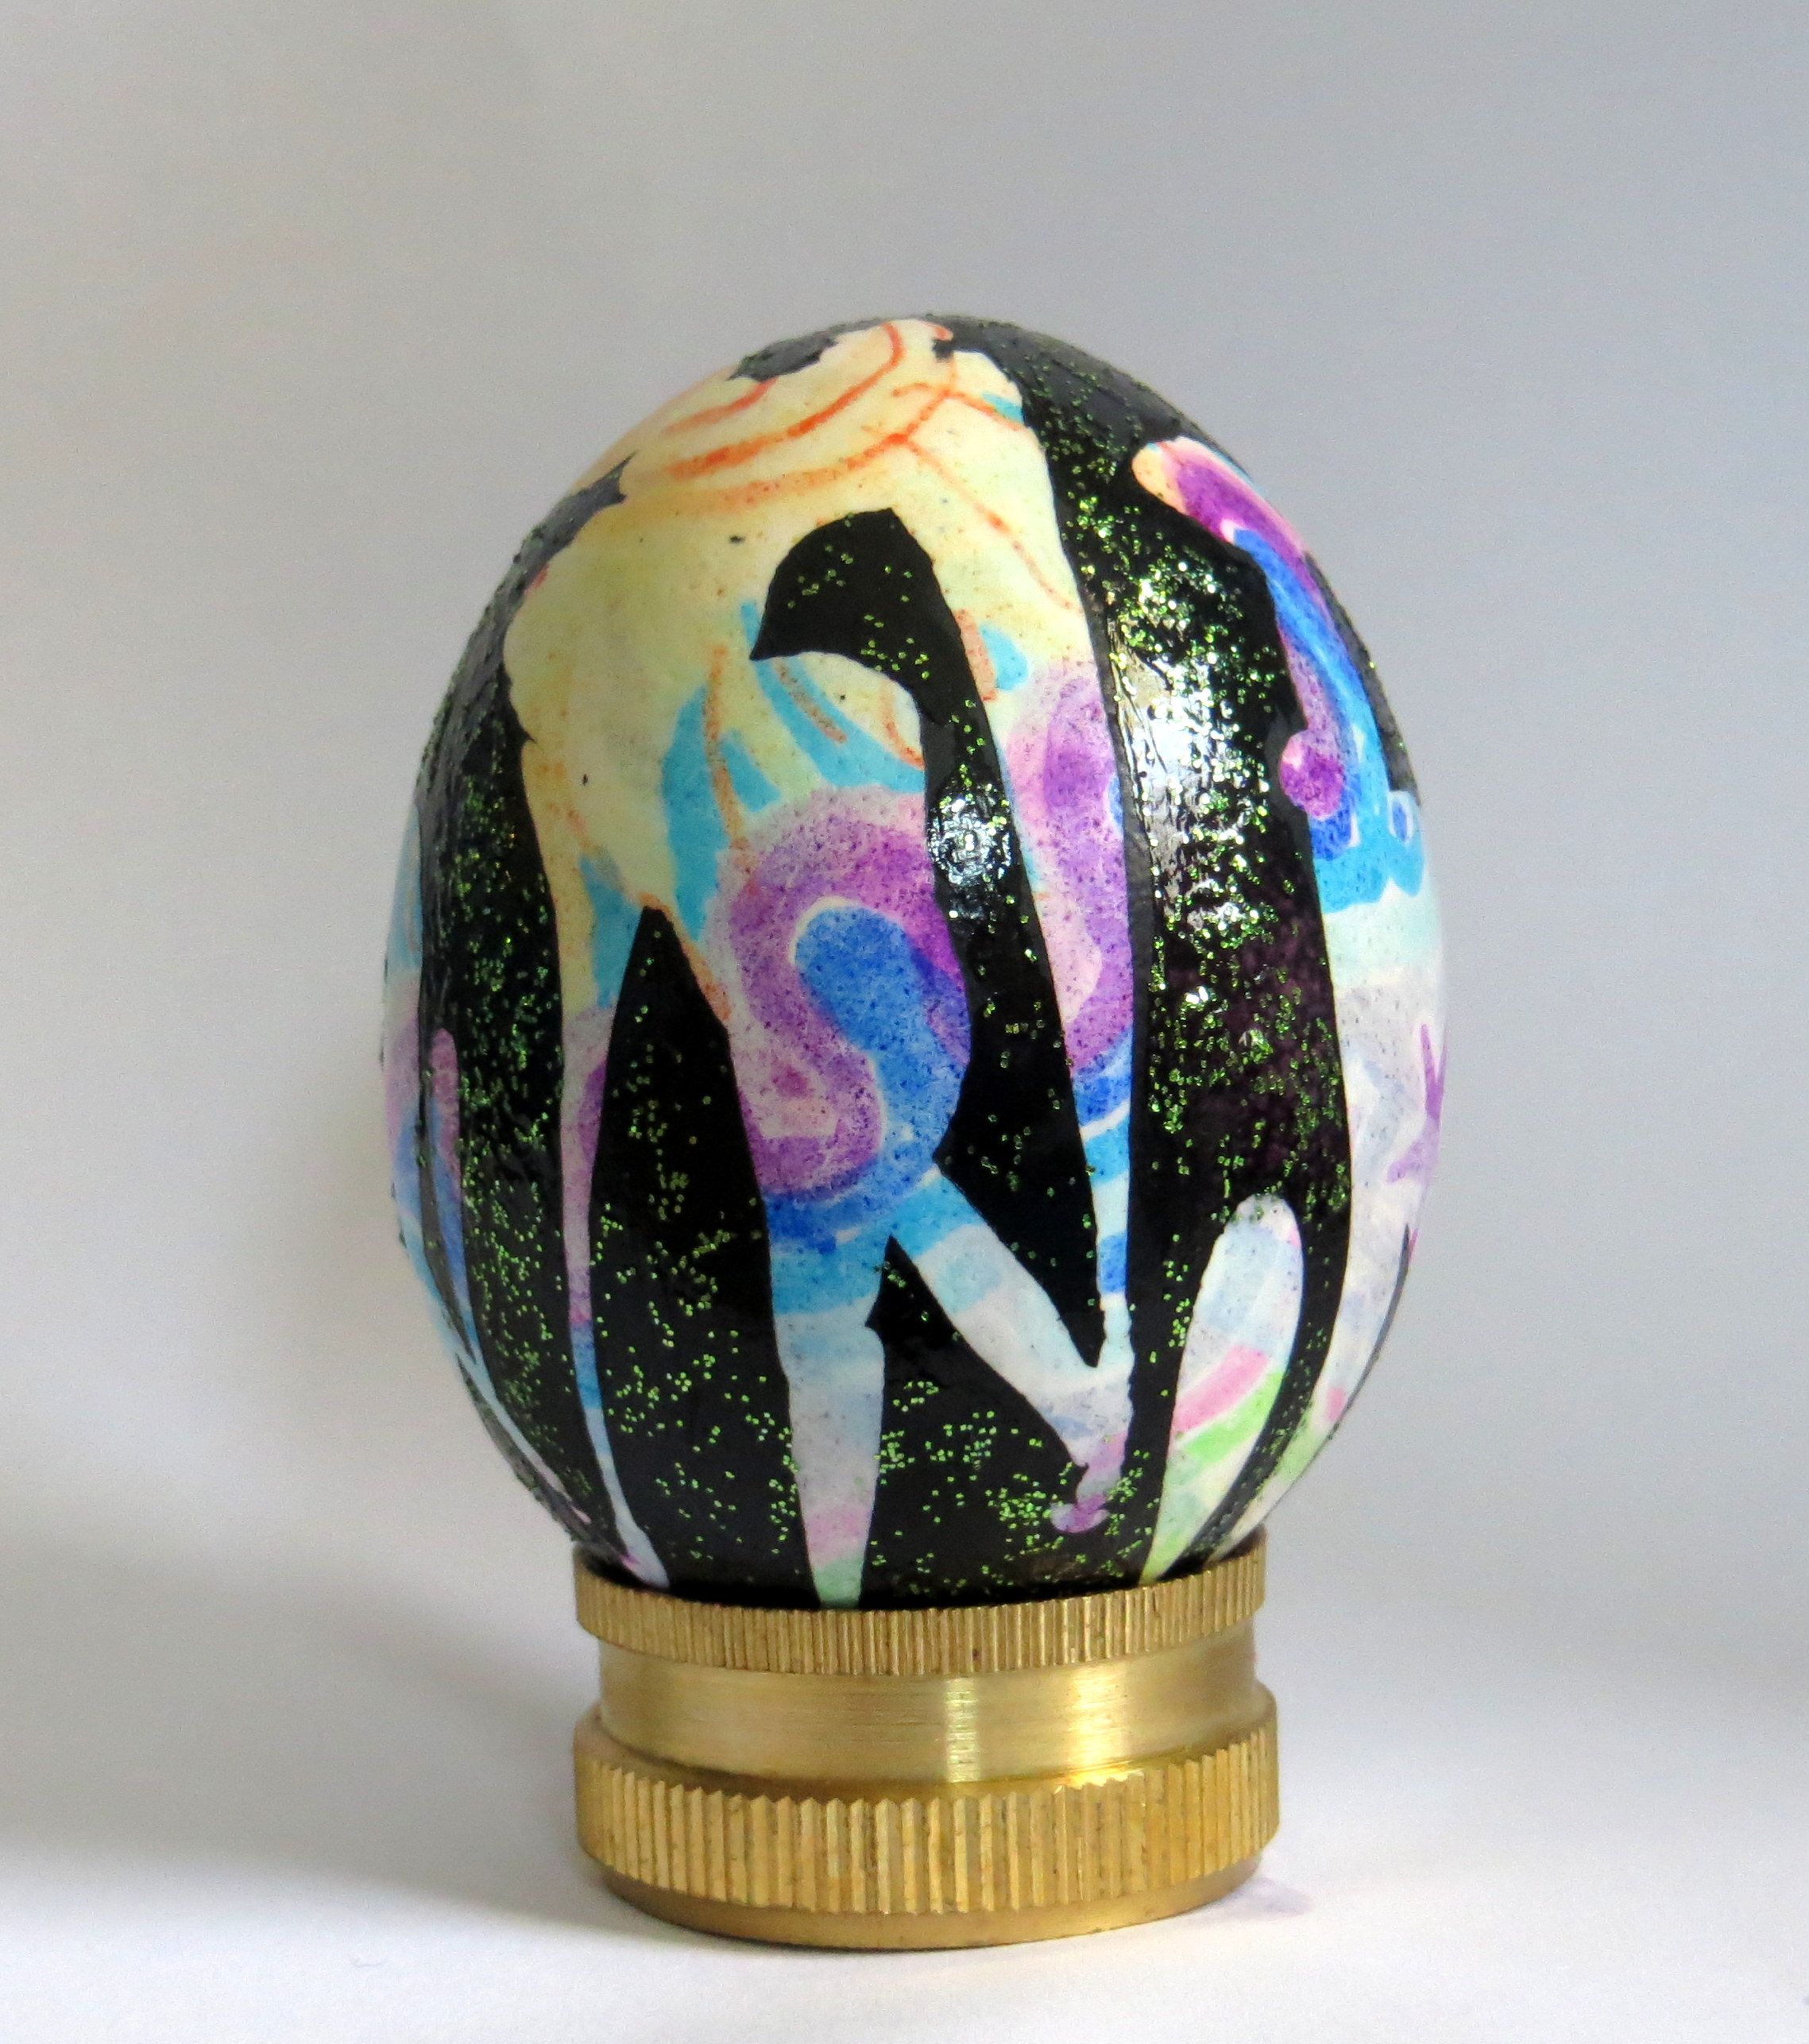
A few months ago I bought a large set of glitter, so I’ve been looking for an excuse to make something sparkle. I suspended green glitter in an acrylic medium, and brushed it on the black areas.
Here’s the reverse side.
As a last step I recolored the egg with Sharpies again, trying to stay as true to my sister’s original pattern as possible.
My fingers are crossed — I hope the Sharpie doesn’t run when I varnish the egg.
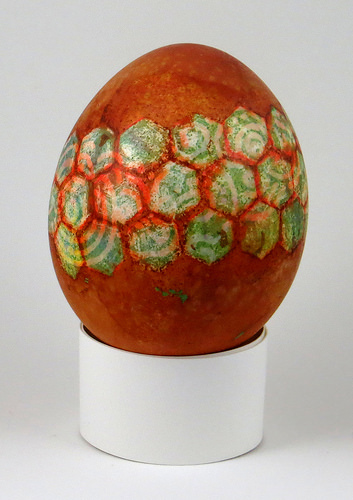
Originally this egg had a faint scattering of color, probably from a man’s silk tie. I waxed on a pattern and dyed the egg green, then removed the wax. I wasn’t happy with the resulting egg, so I covered the egg in small hexagon-shaped painter’s tape decals, and dyed the egg brown.
This metallic prodigy was originally dyed in a scrap from a man’s silk tie. I waxed a pattern over the pattern left by the tie, and dyed the egg dark green. The end result didn’t have enough contrast to suit me, so I decided to paint around the wax design with a brassy gold acrylic.
Another view of the egg. You can see the pattern left by the tie underneath the green dye.
More images
One of my oldest eggs, possibly dating as far back as high school. This one was Rit Peach, waxed over with an old fountain pen, and dyed Rit Dark Green. The green had a little too much vinegar in it, you can tell by how it’s lifted away from the egg in some spots.
A not-so-successful silk transfer dyed egg, then waxed with a Candle Deco pen. Ouch, white wax on a white egg. Avoid if possible.
This has some color under the blue dye; if memory serves it’s from a silk tie. This is one of the first eggs I waxed with a Mavry Candle Deco pen. Yes, the egg is wet.
The completed egg. Notice how the wax lines aren’t very strong, probably because I was too gentle when applying the wax.
The completed egg, with yellow varnish. (D’oh!)
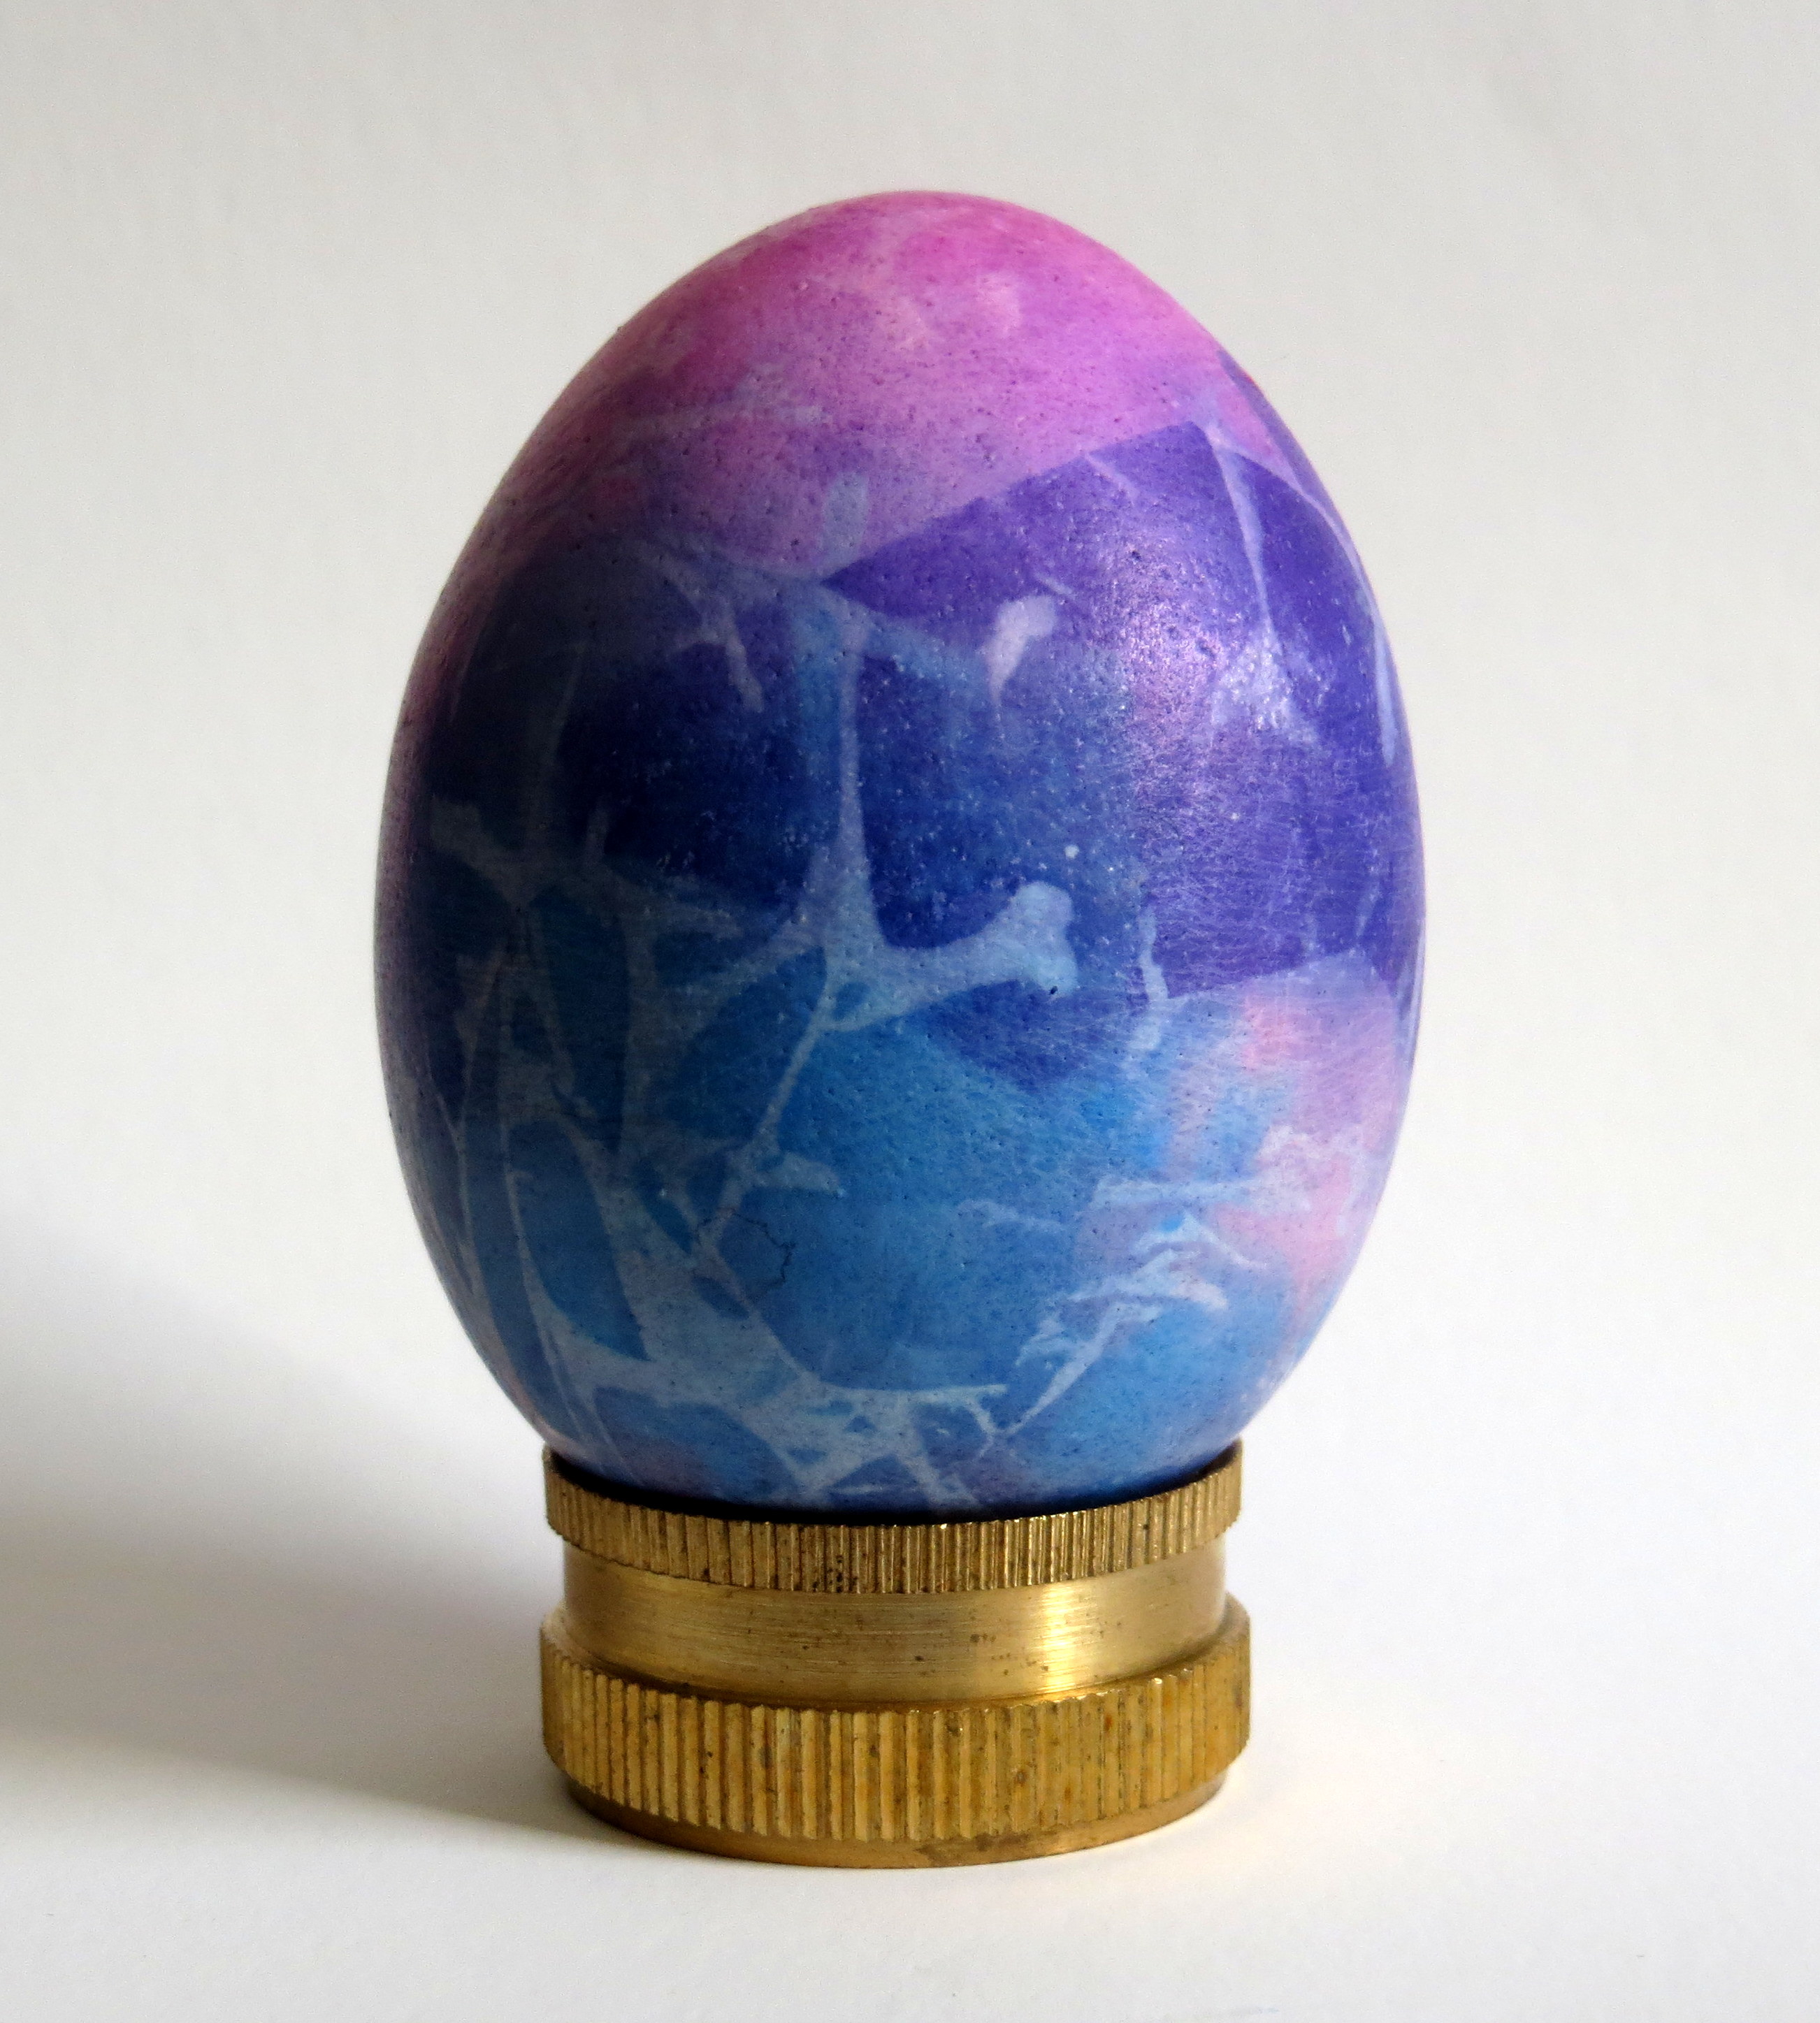
This blue egg was waxed with a very simple pattern, then dyed with fuchsia dye. The dye had too much vinegar and didn’t take well.
Sharpies and rubbing alcohol
Next I placed wax dots on the egg.
Next I washed the egg in vinegar to remove Sharpie from the unprotected areas, then dyed the egg aquamarine.
Then I waxed on another pattern.
And I dyed the egg purple. (It’s still a little wet in the photo.)
And lastly I removed the wax.
This bold egg started life as a red egg. I waxed on a pattern, then removed most of the exposed red dye using vinegar/water solution. Once the color was mostly gone I dyed the egg yellow.
Orange egg dyed again with Spectra Art Tissue.
Original rubber stamp with red dye ink.
As a last step, I outlined the rubber stamp with silver acrylic.
Dyed with a scrap from a silk tie.
Next I decided to dribble on some melted wax.
I dyed the egg ultramarine.
While dying the egg I noticed a huge crack in the side. I removed the wax, but I don’t want to do anything else to the egg.
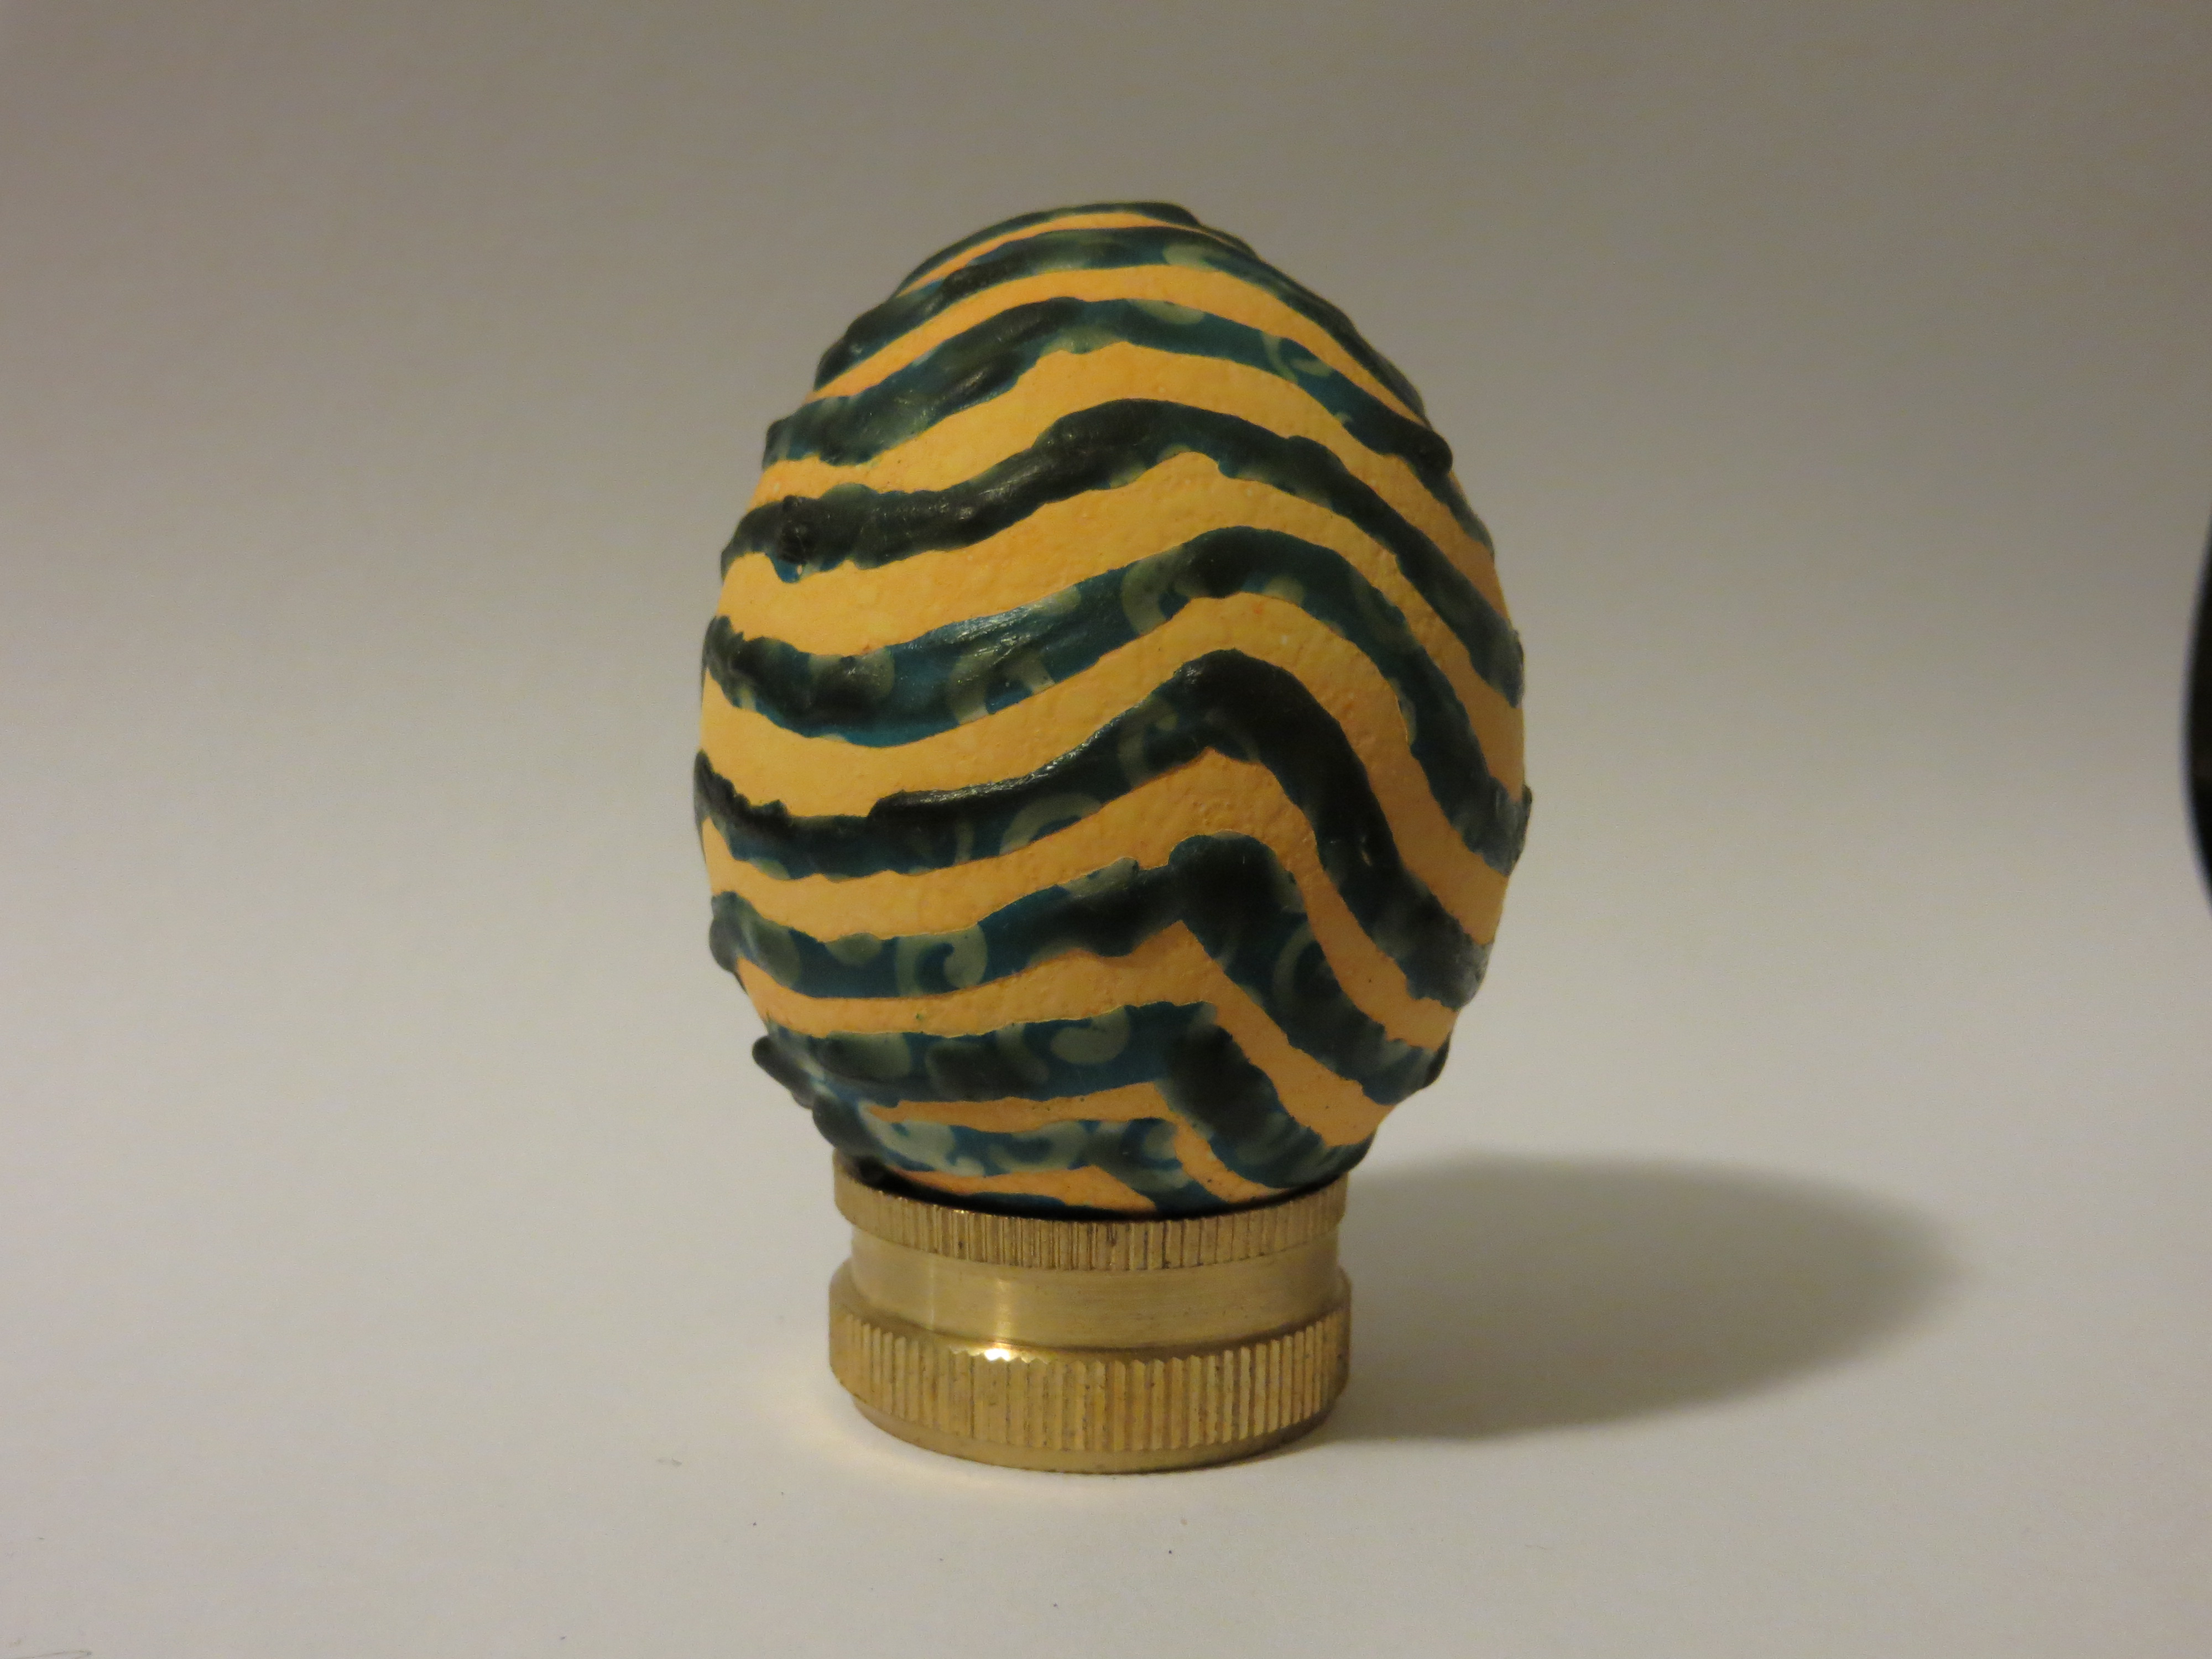
This egg is a do-over. It had a gray background and a small blue design. I didn’t like it, so I made tiny star stencils from painter’s tape and attempted to fill them in with a kistka. The results were OK, but not as uniform as I’d like. After waxing on stars I dyed the egg blue.
The egg is wrapped in Spectra Art Tissue.
After removing the art tissue the egg is darker, but almost uniformly darker. It still isn’t exciting.
Next I turned on a mini crock pot I keep filled with wax, and once the wax melted I used a spoon to dribble some on the egg.
Wax removed.
The other side. You can see the original design inside the stars.
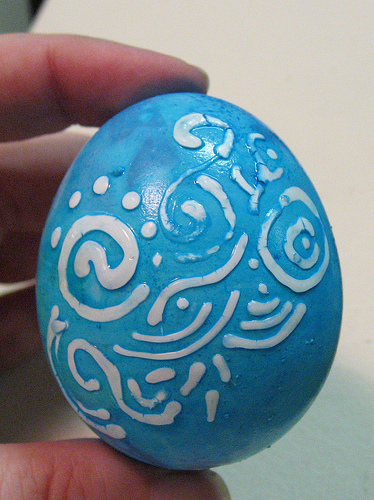
I waxed a white egg with little swirls and dyed it blue.
Wax removed.
Next, I waxed a new pattern and then soaked the egg in vinegar to remove color from the exposed areas.
Next I dyed the egg orange.
And then I added wax dots.
Next I dyed the egg fuschia.
And finally I removed the wax.
This egg had a faint red pattern on the reverse side, then it was dyed orange (or possibly smeared with orange Tee Juice markers.). Next a large red spiral was added to the egg, probably with Tee Juice markers.
Painter’s tape decal added.
Hours (like over 24) in the black dye allowed the dye to seep under the tape.
I outlined the designs with copper acrylic to minimize the dye bleed.
Another view.
I waxed a few wavy concentric circles on the egg, then smeared Dudley egg dye (the sticky pouch kind) over the egg.
Next I added some painter’s tape decals.
More decals.
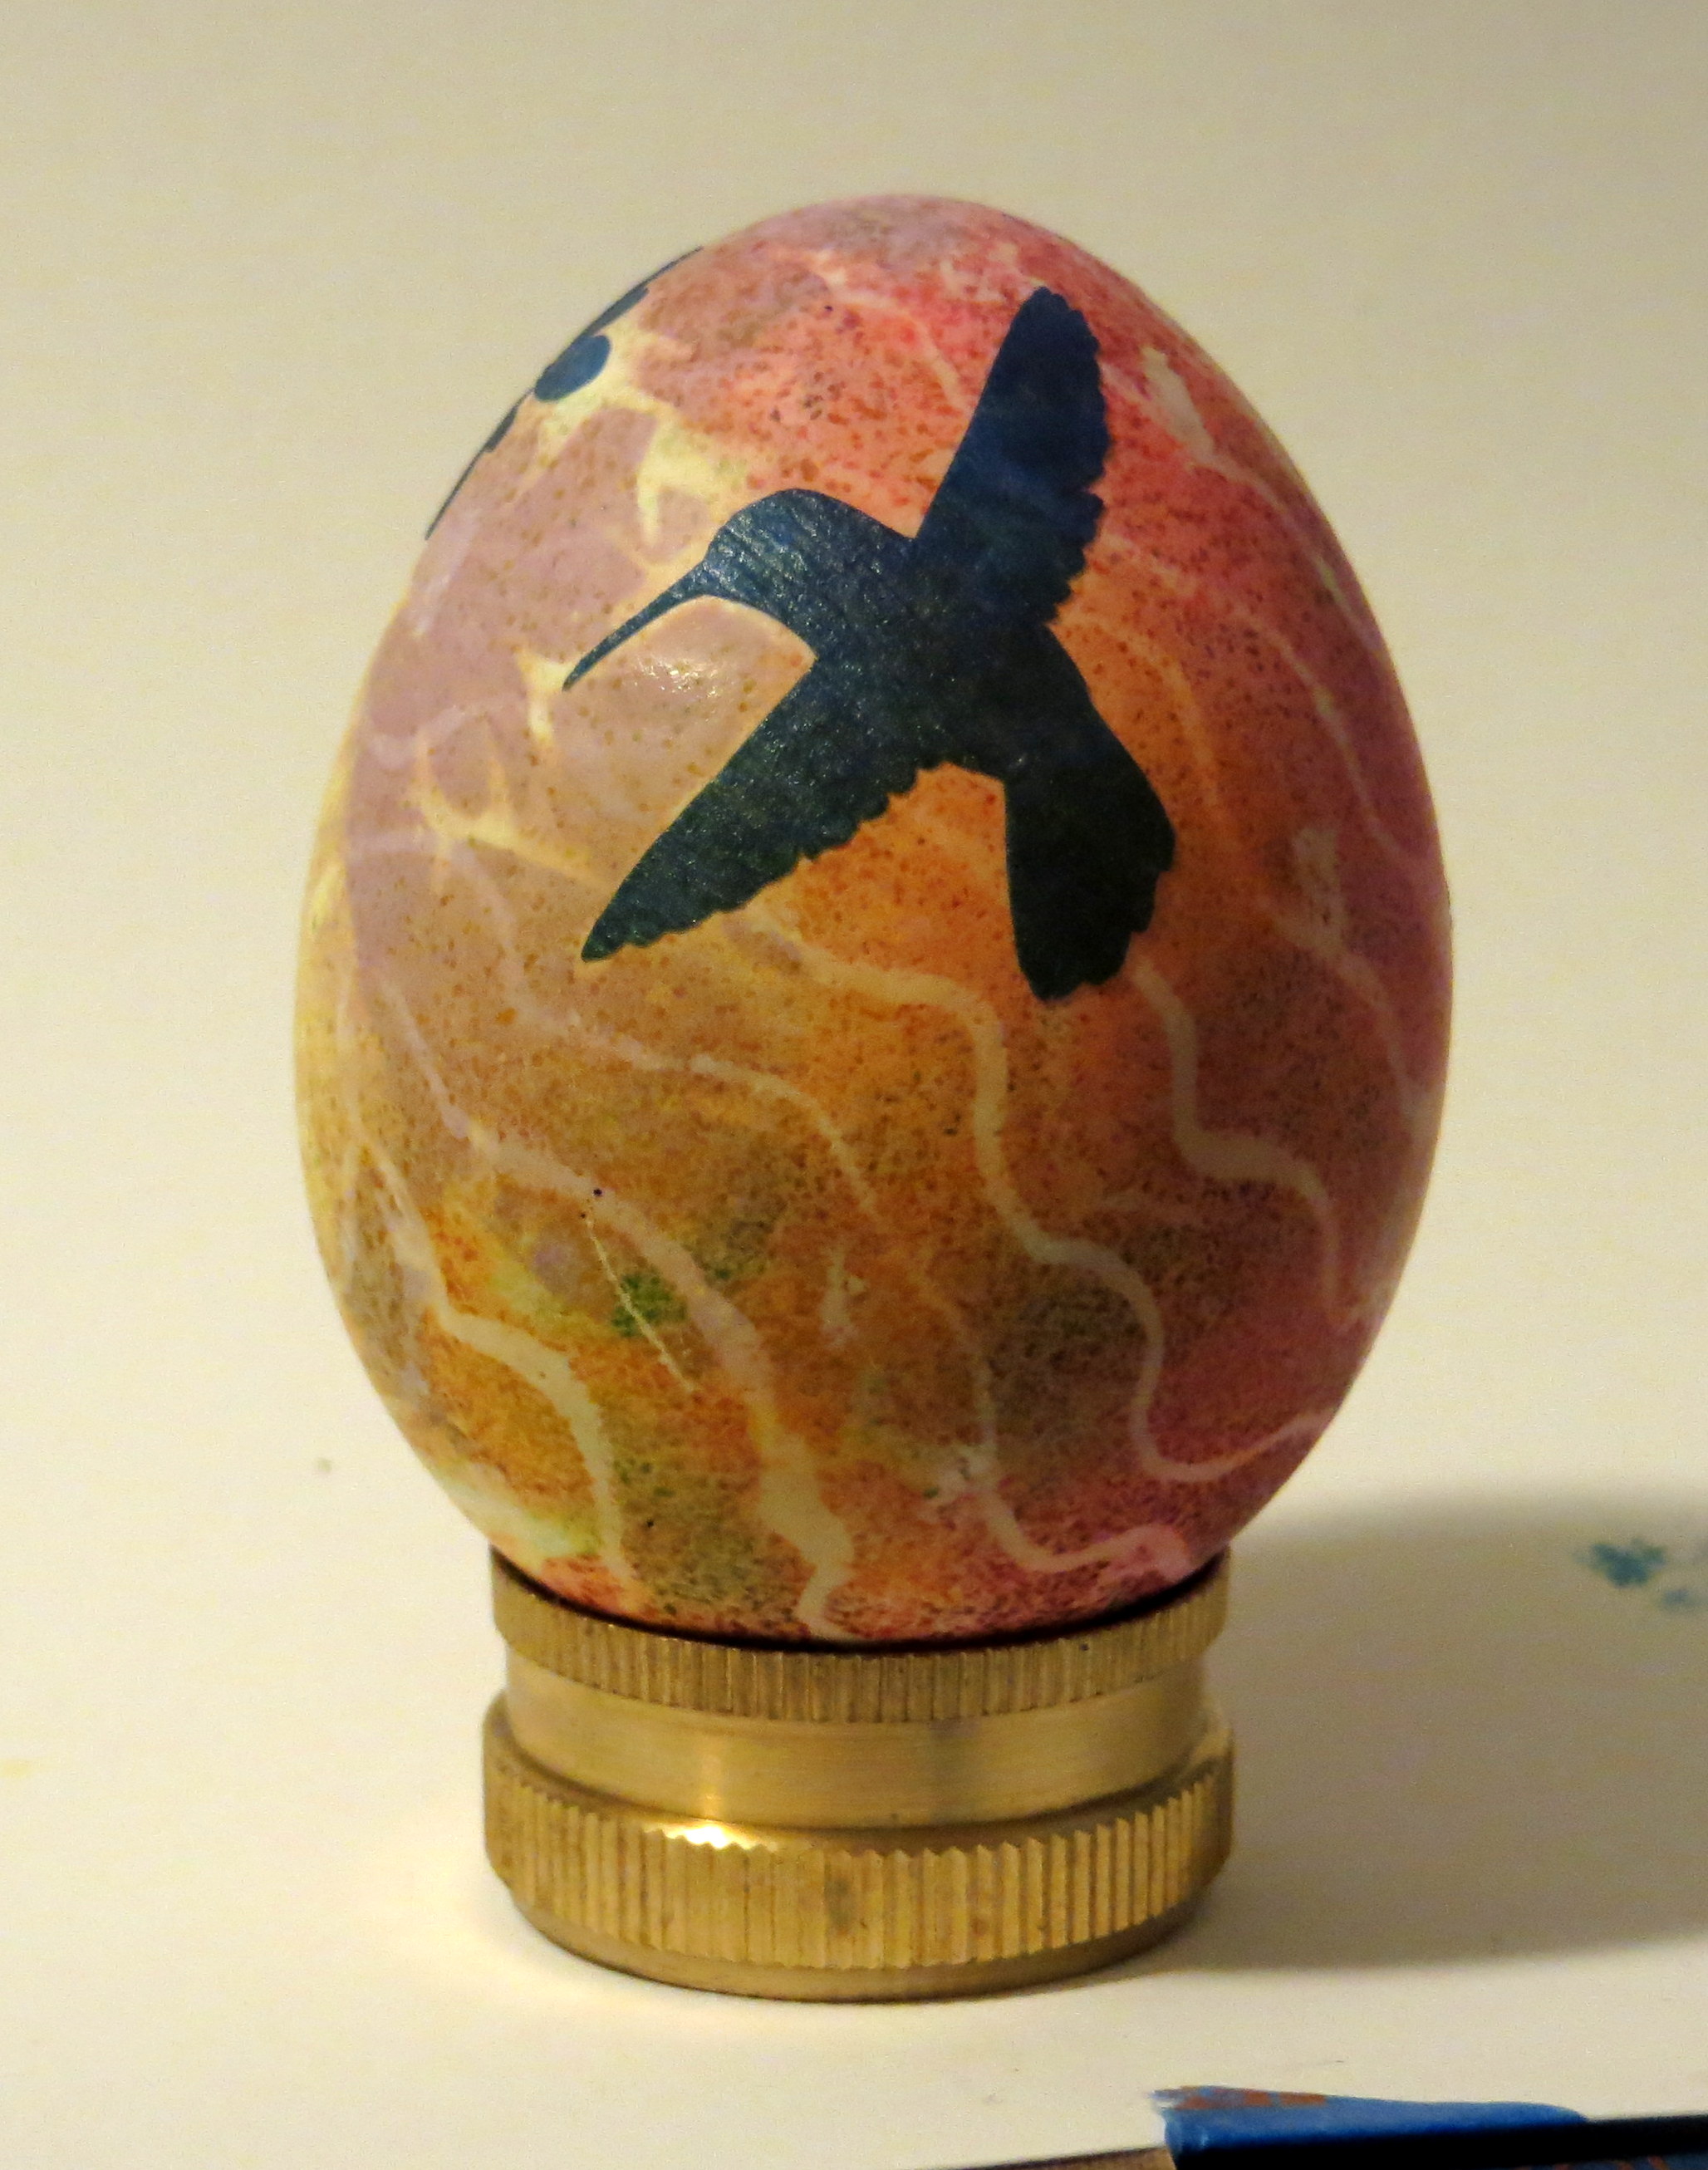
The egg is currently wrapped in Spectra Art Tissue.
Post art tissue, the egg looks good, but the new warm tones have the same values as the greens. (I had to shoot this image under incandescent lights, so the colors look warmer than they are.)
The other side of the egg.
I’m adding a few smears of Tee Juice markers to bump up the color. It’s still wet in the photo.
More Tee Juice.
After removing the decals.
The area around the hummingbird’s beak is bothering me — it doesn’t look too bad in this photo, but in real life there isn’t enough definition around the beak. It blends into the lavender background tones.
To give the beak more definition, I added a little purple dye to clear acrylic medium and painted the area around the beak. I’m not totally happy; the brush strokes are visible. Of course, this is also a close-up photo. They aren’t quite so noticeable in life. Varnishing the egg will also help.
Gods, i don’t remember what this looked like originally. I know it was in the pinkish family, and it had a ton of little dots running around the egg in wavy concentric circles. It was a victim of yellow varnish, and I removed the varnish which left the egg looking a little sad.
I added some purple, using Spectra Art Tissue (I think). Next I rubber-stamped the egg with yellow chalk ink using a foam stamp I made.
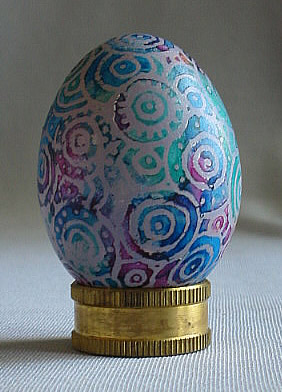
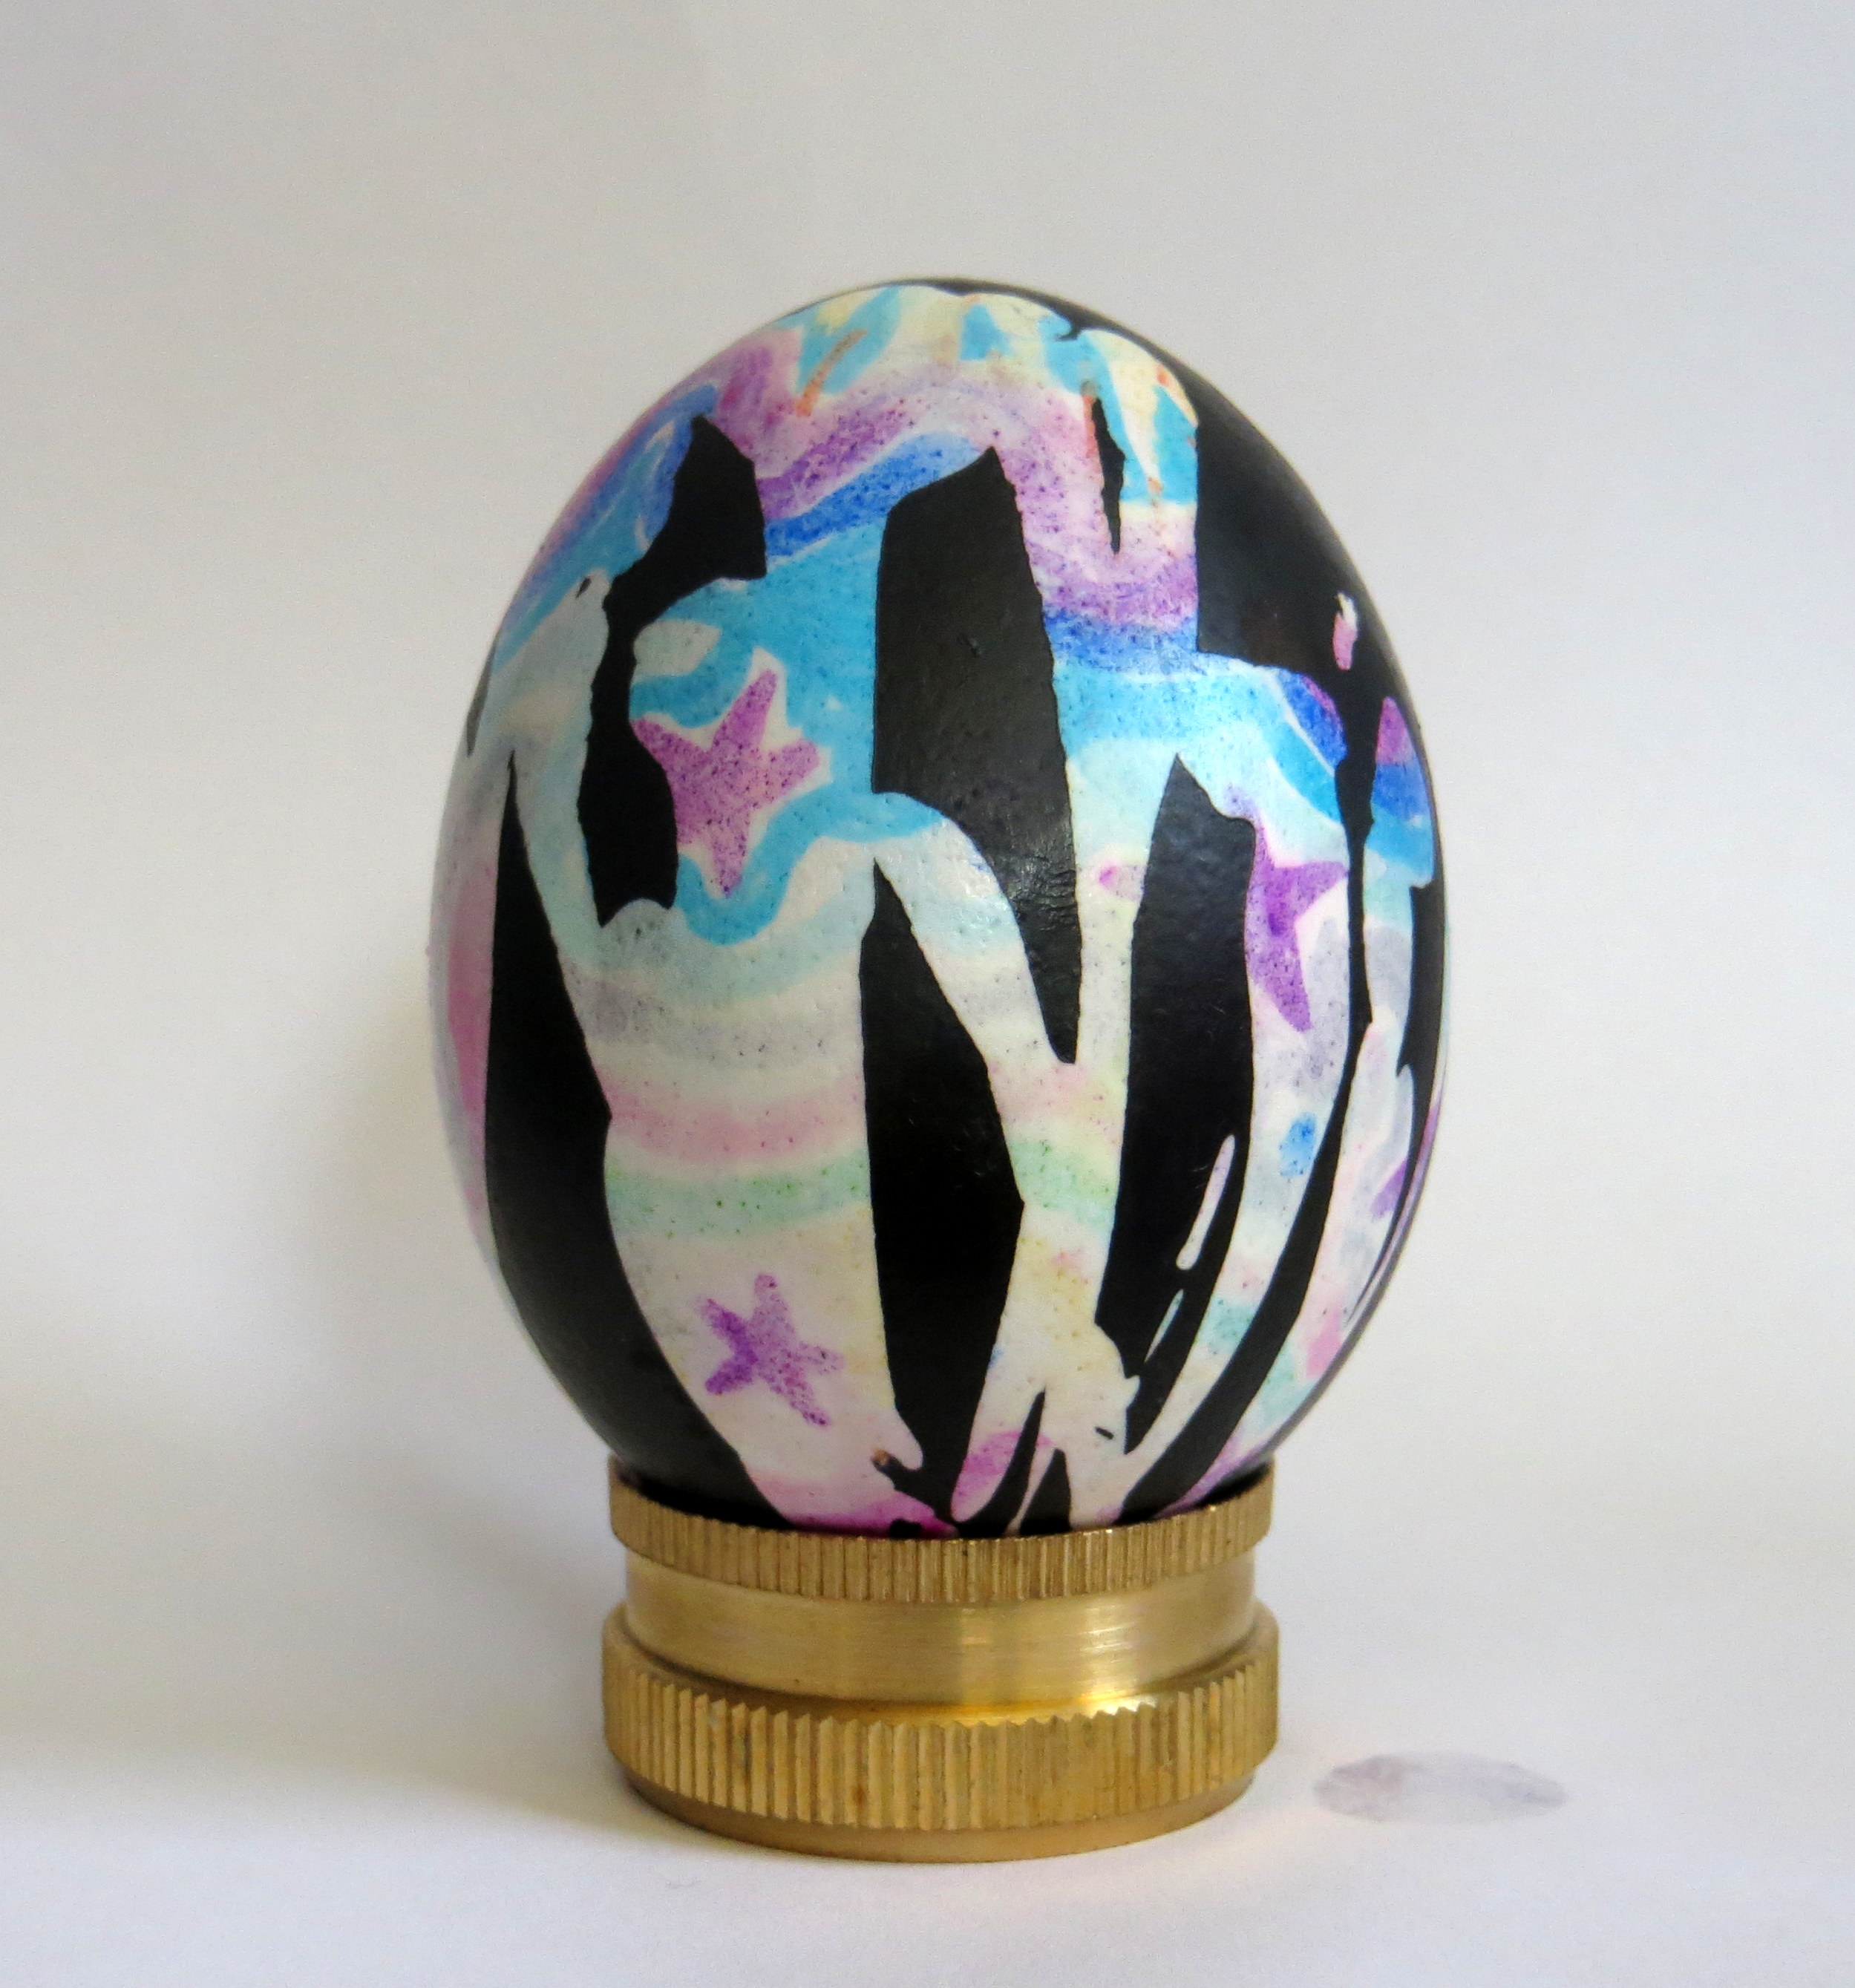
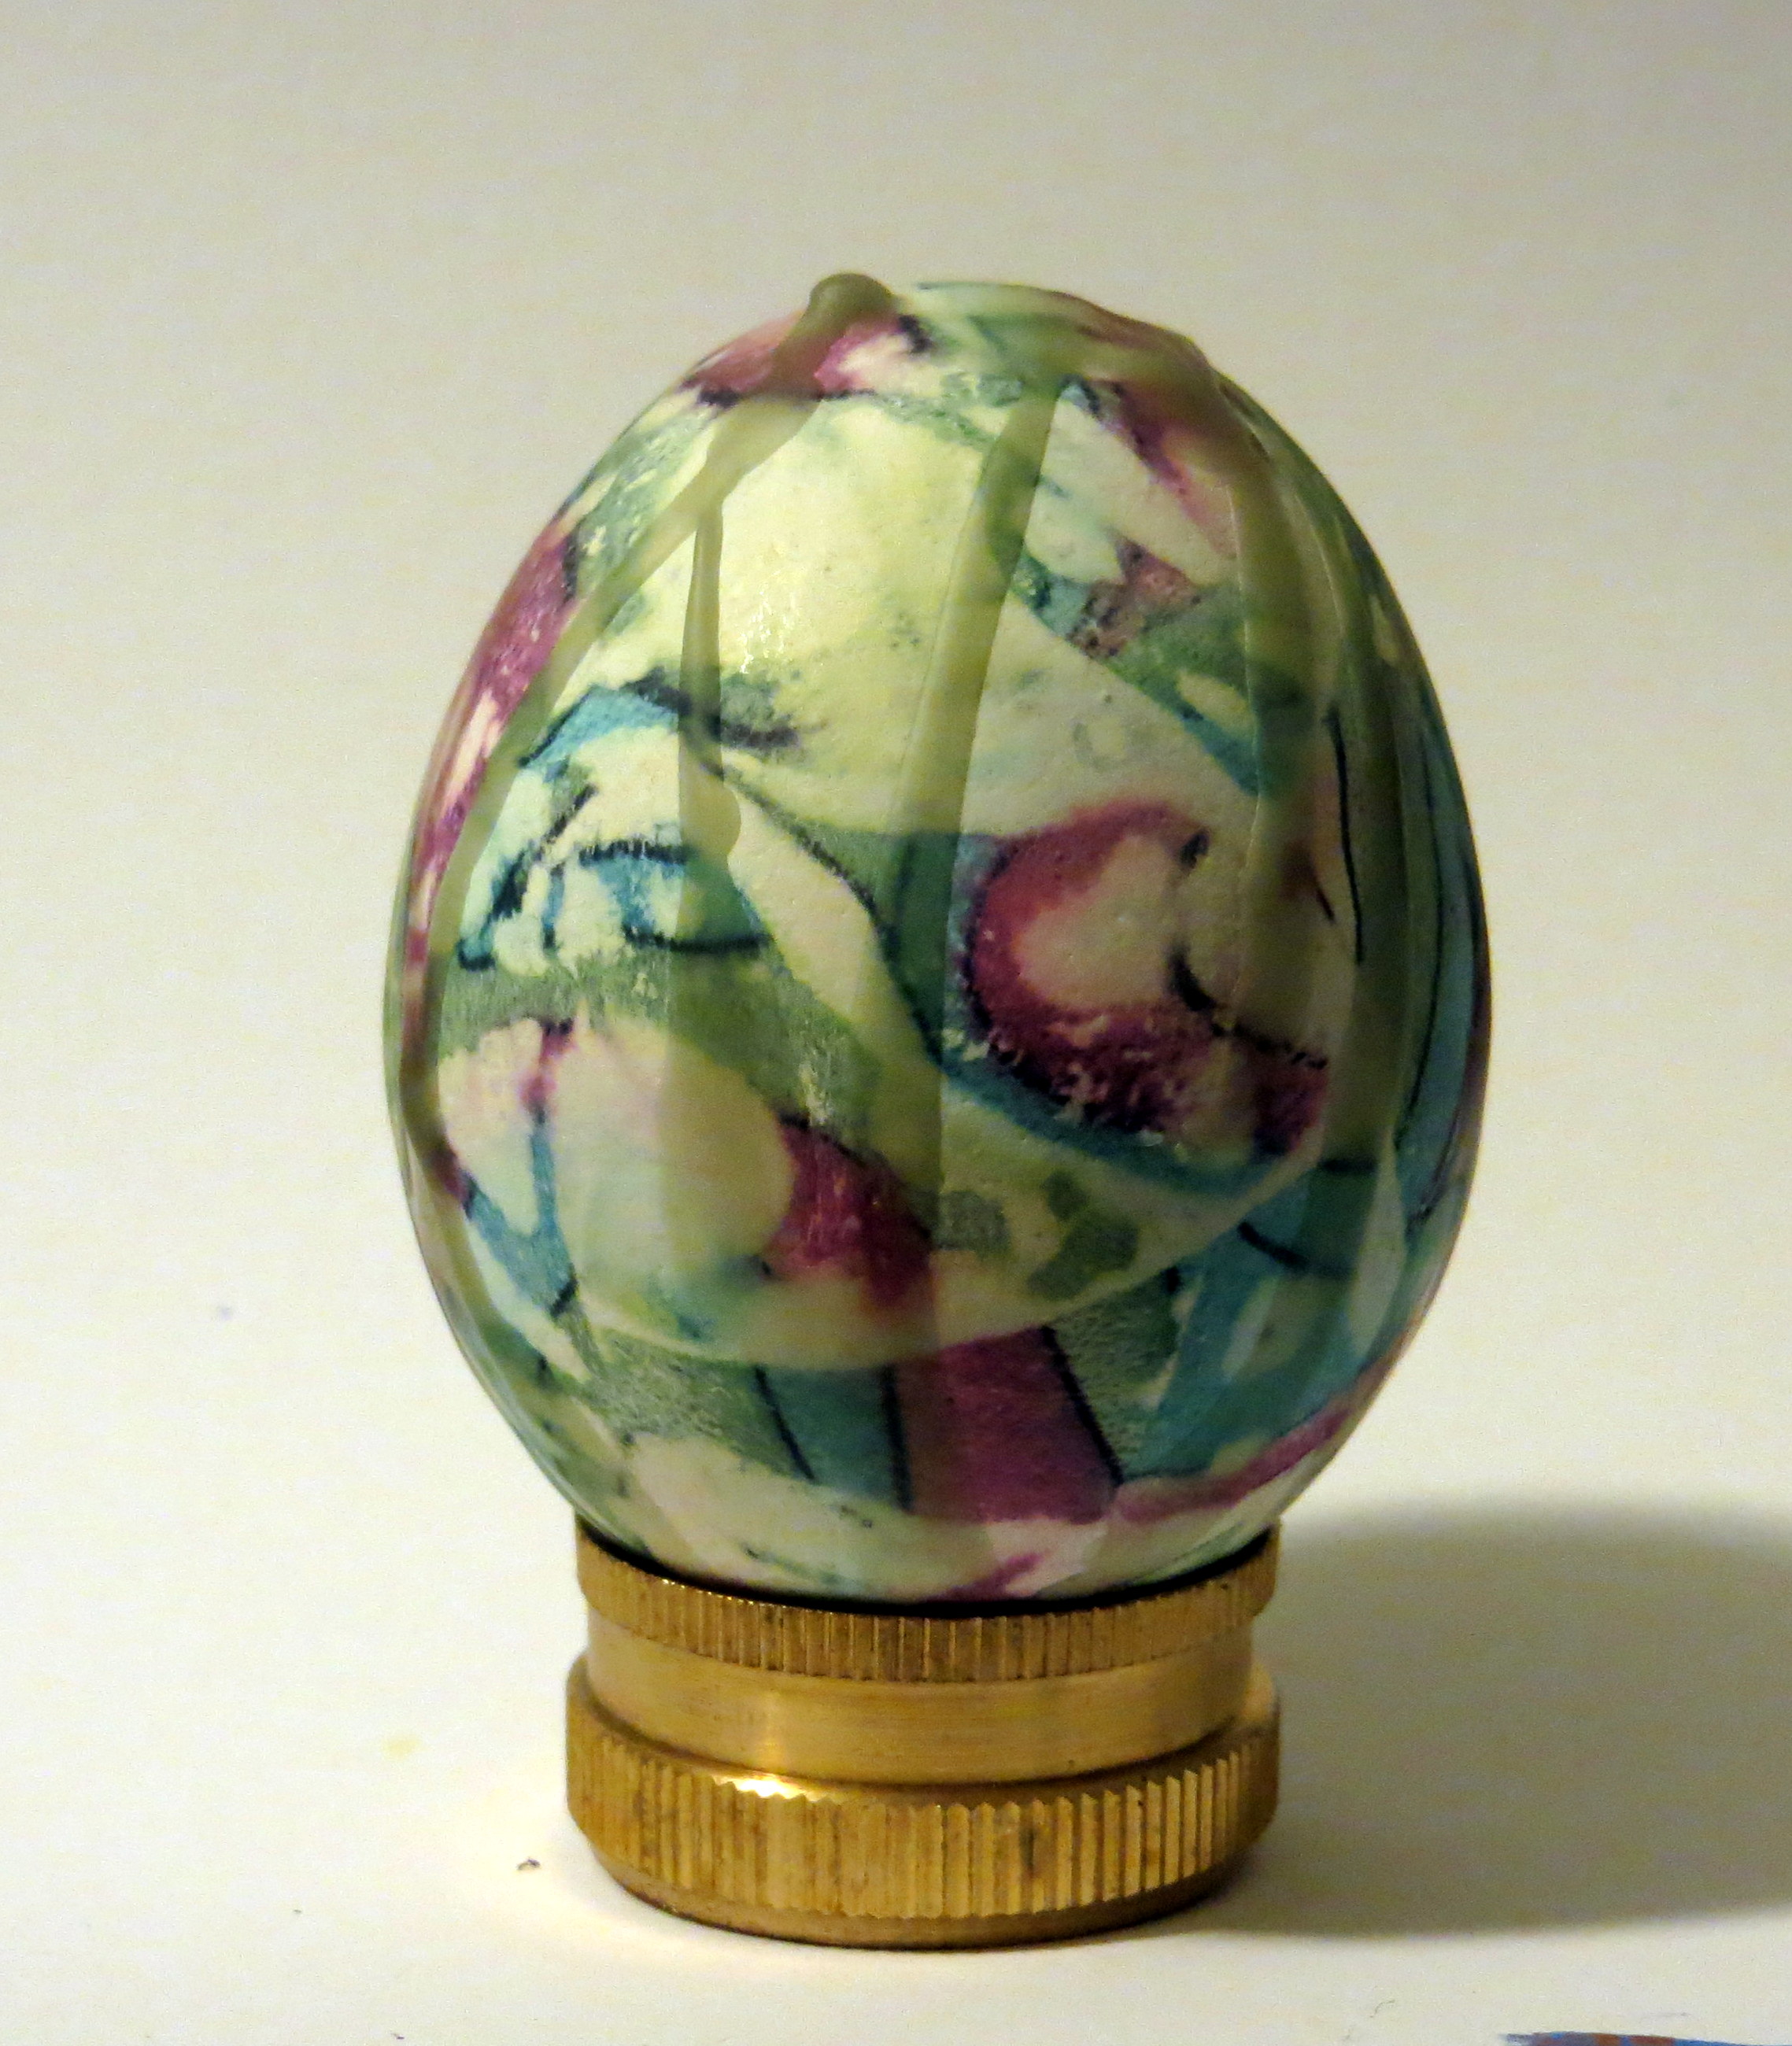
Derwint Inktense with waxed pattern.
I made the whiter area on this egg by testing the water fastness of the Inktense using a wet finger.
After finding the color was not water-resistant I decided to chip off the wax instead of melting it. I was afraid the color would disappear with the wax!